
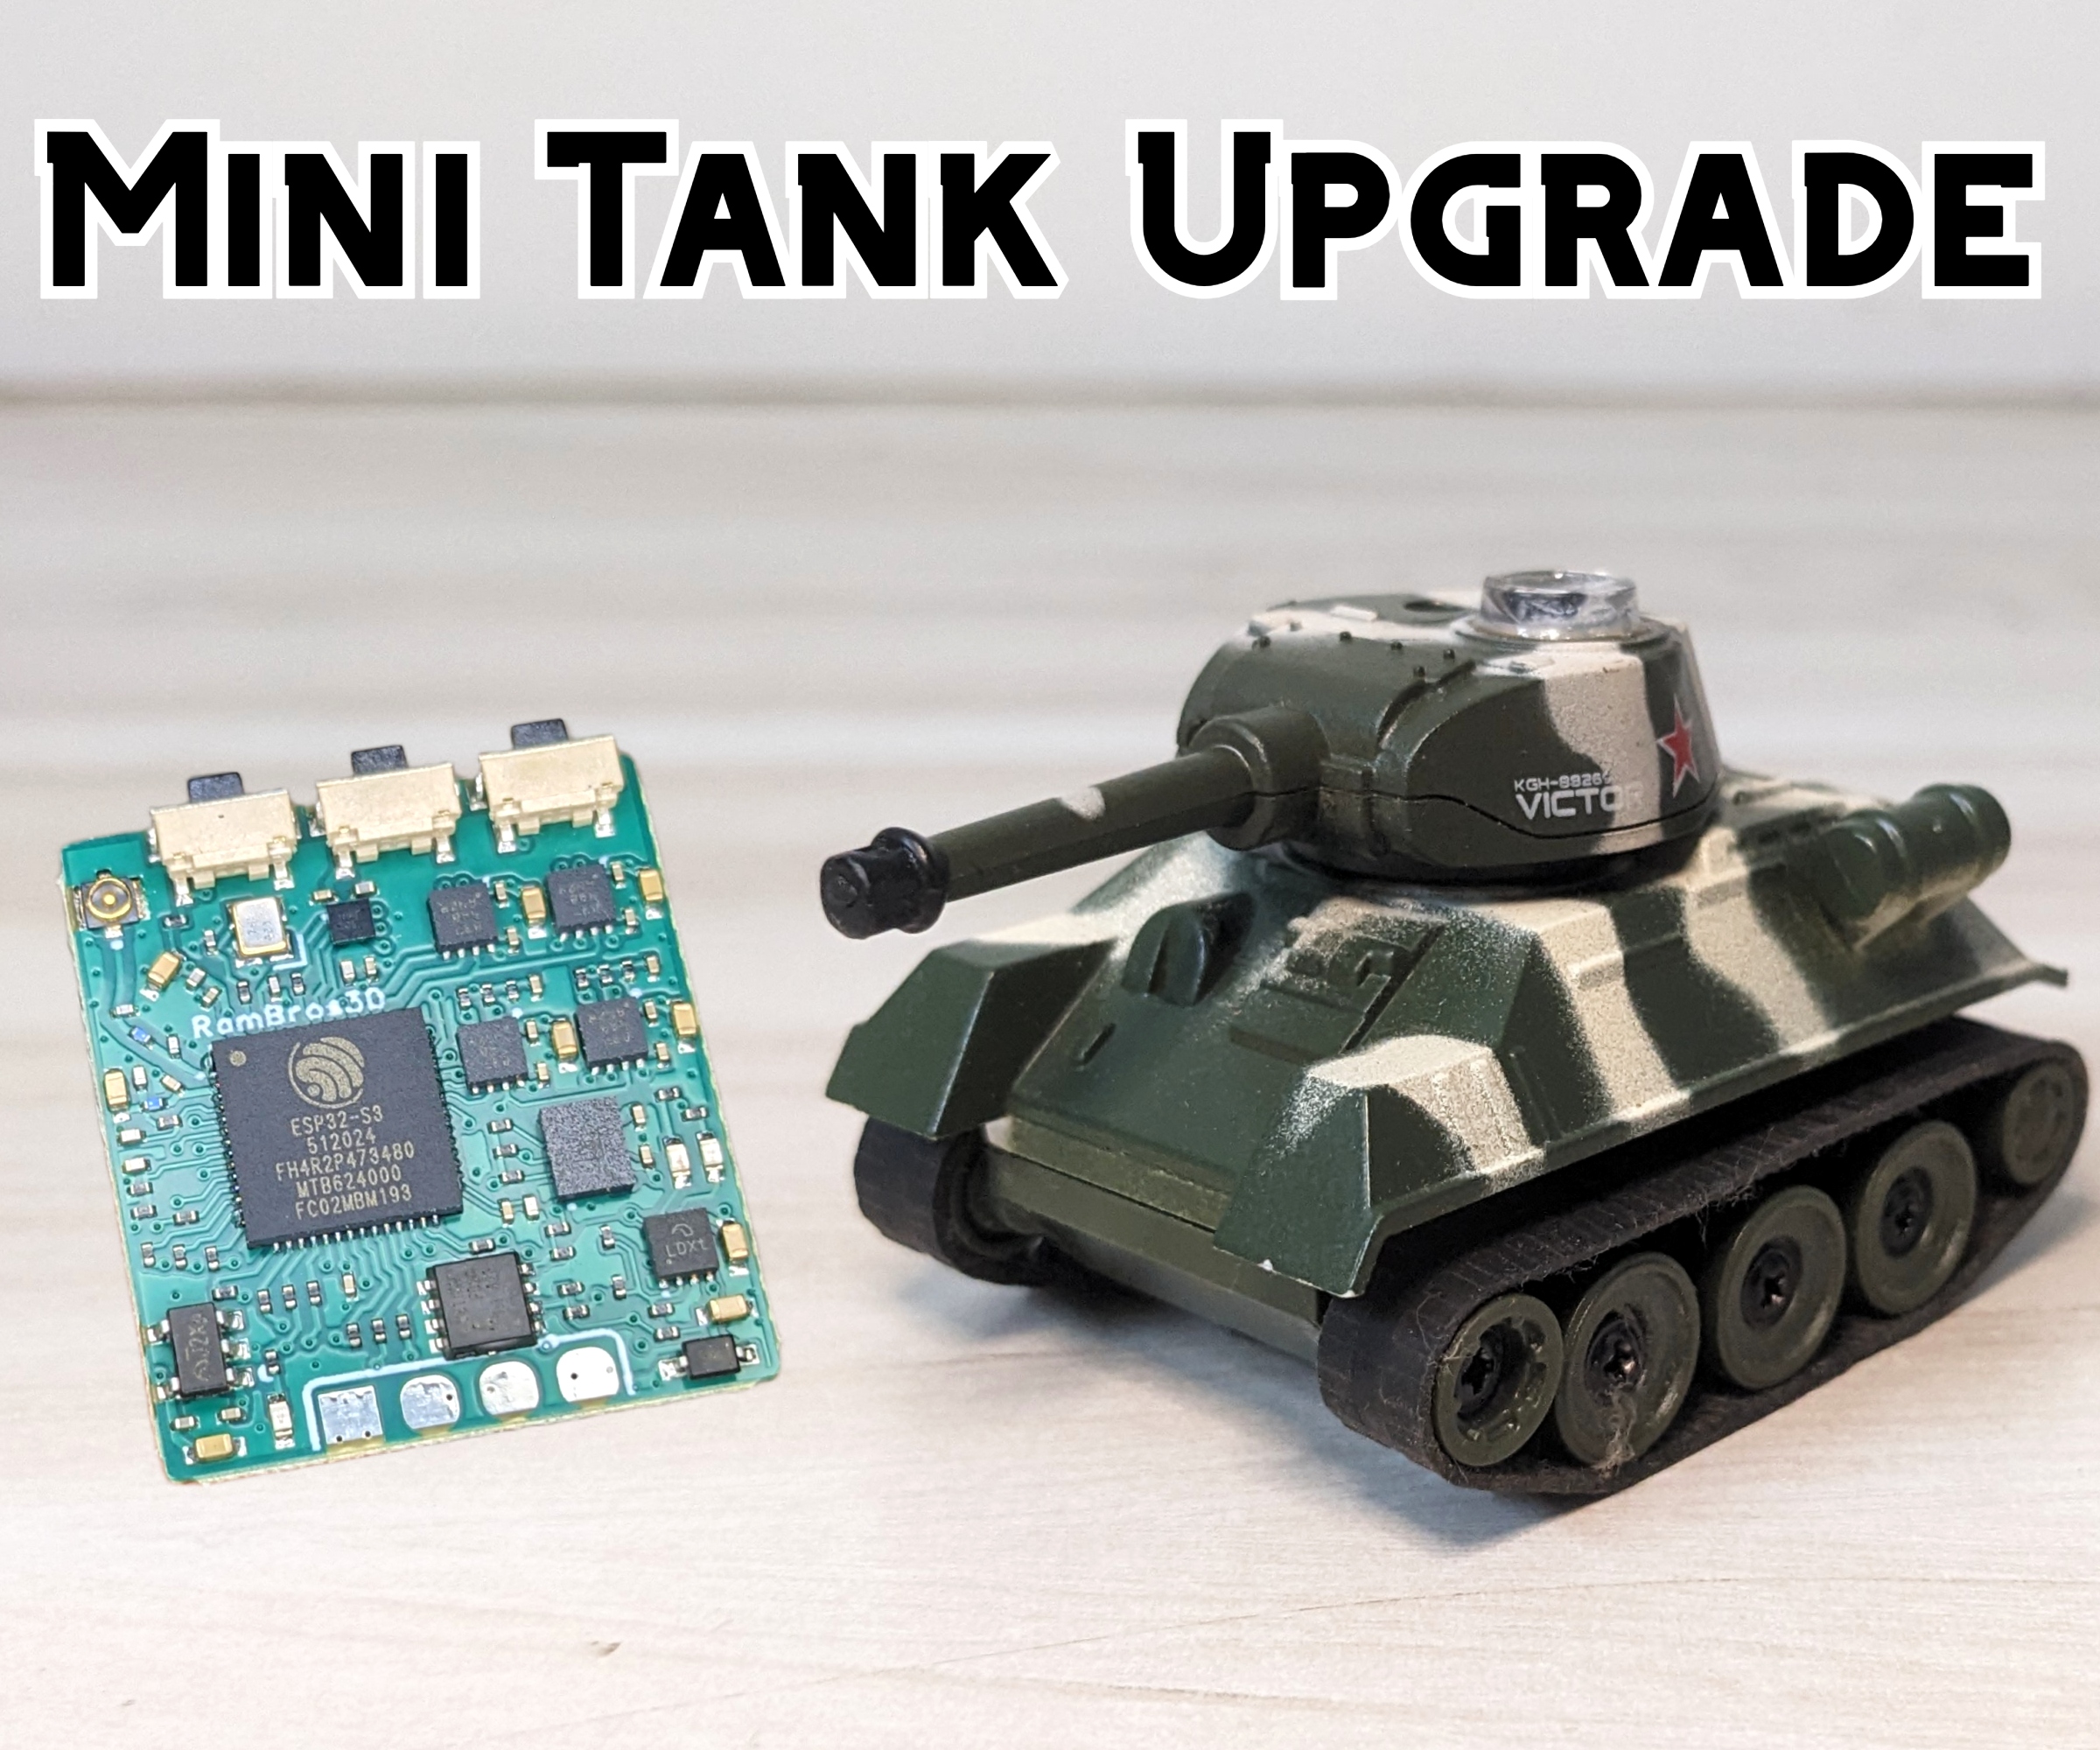
Mini RC tank upgrade
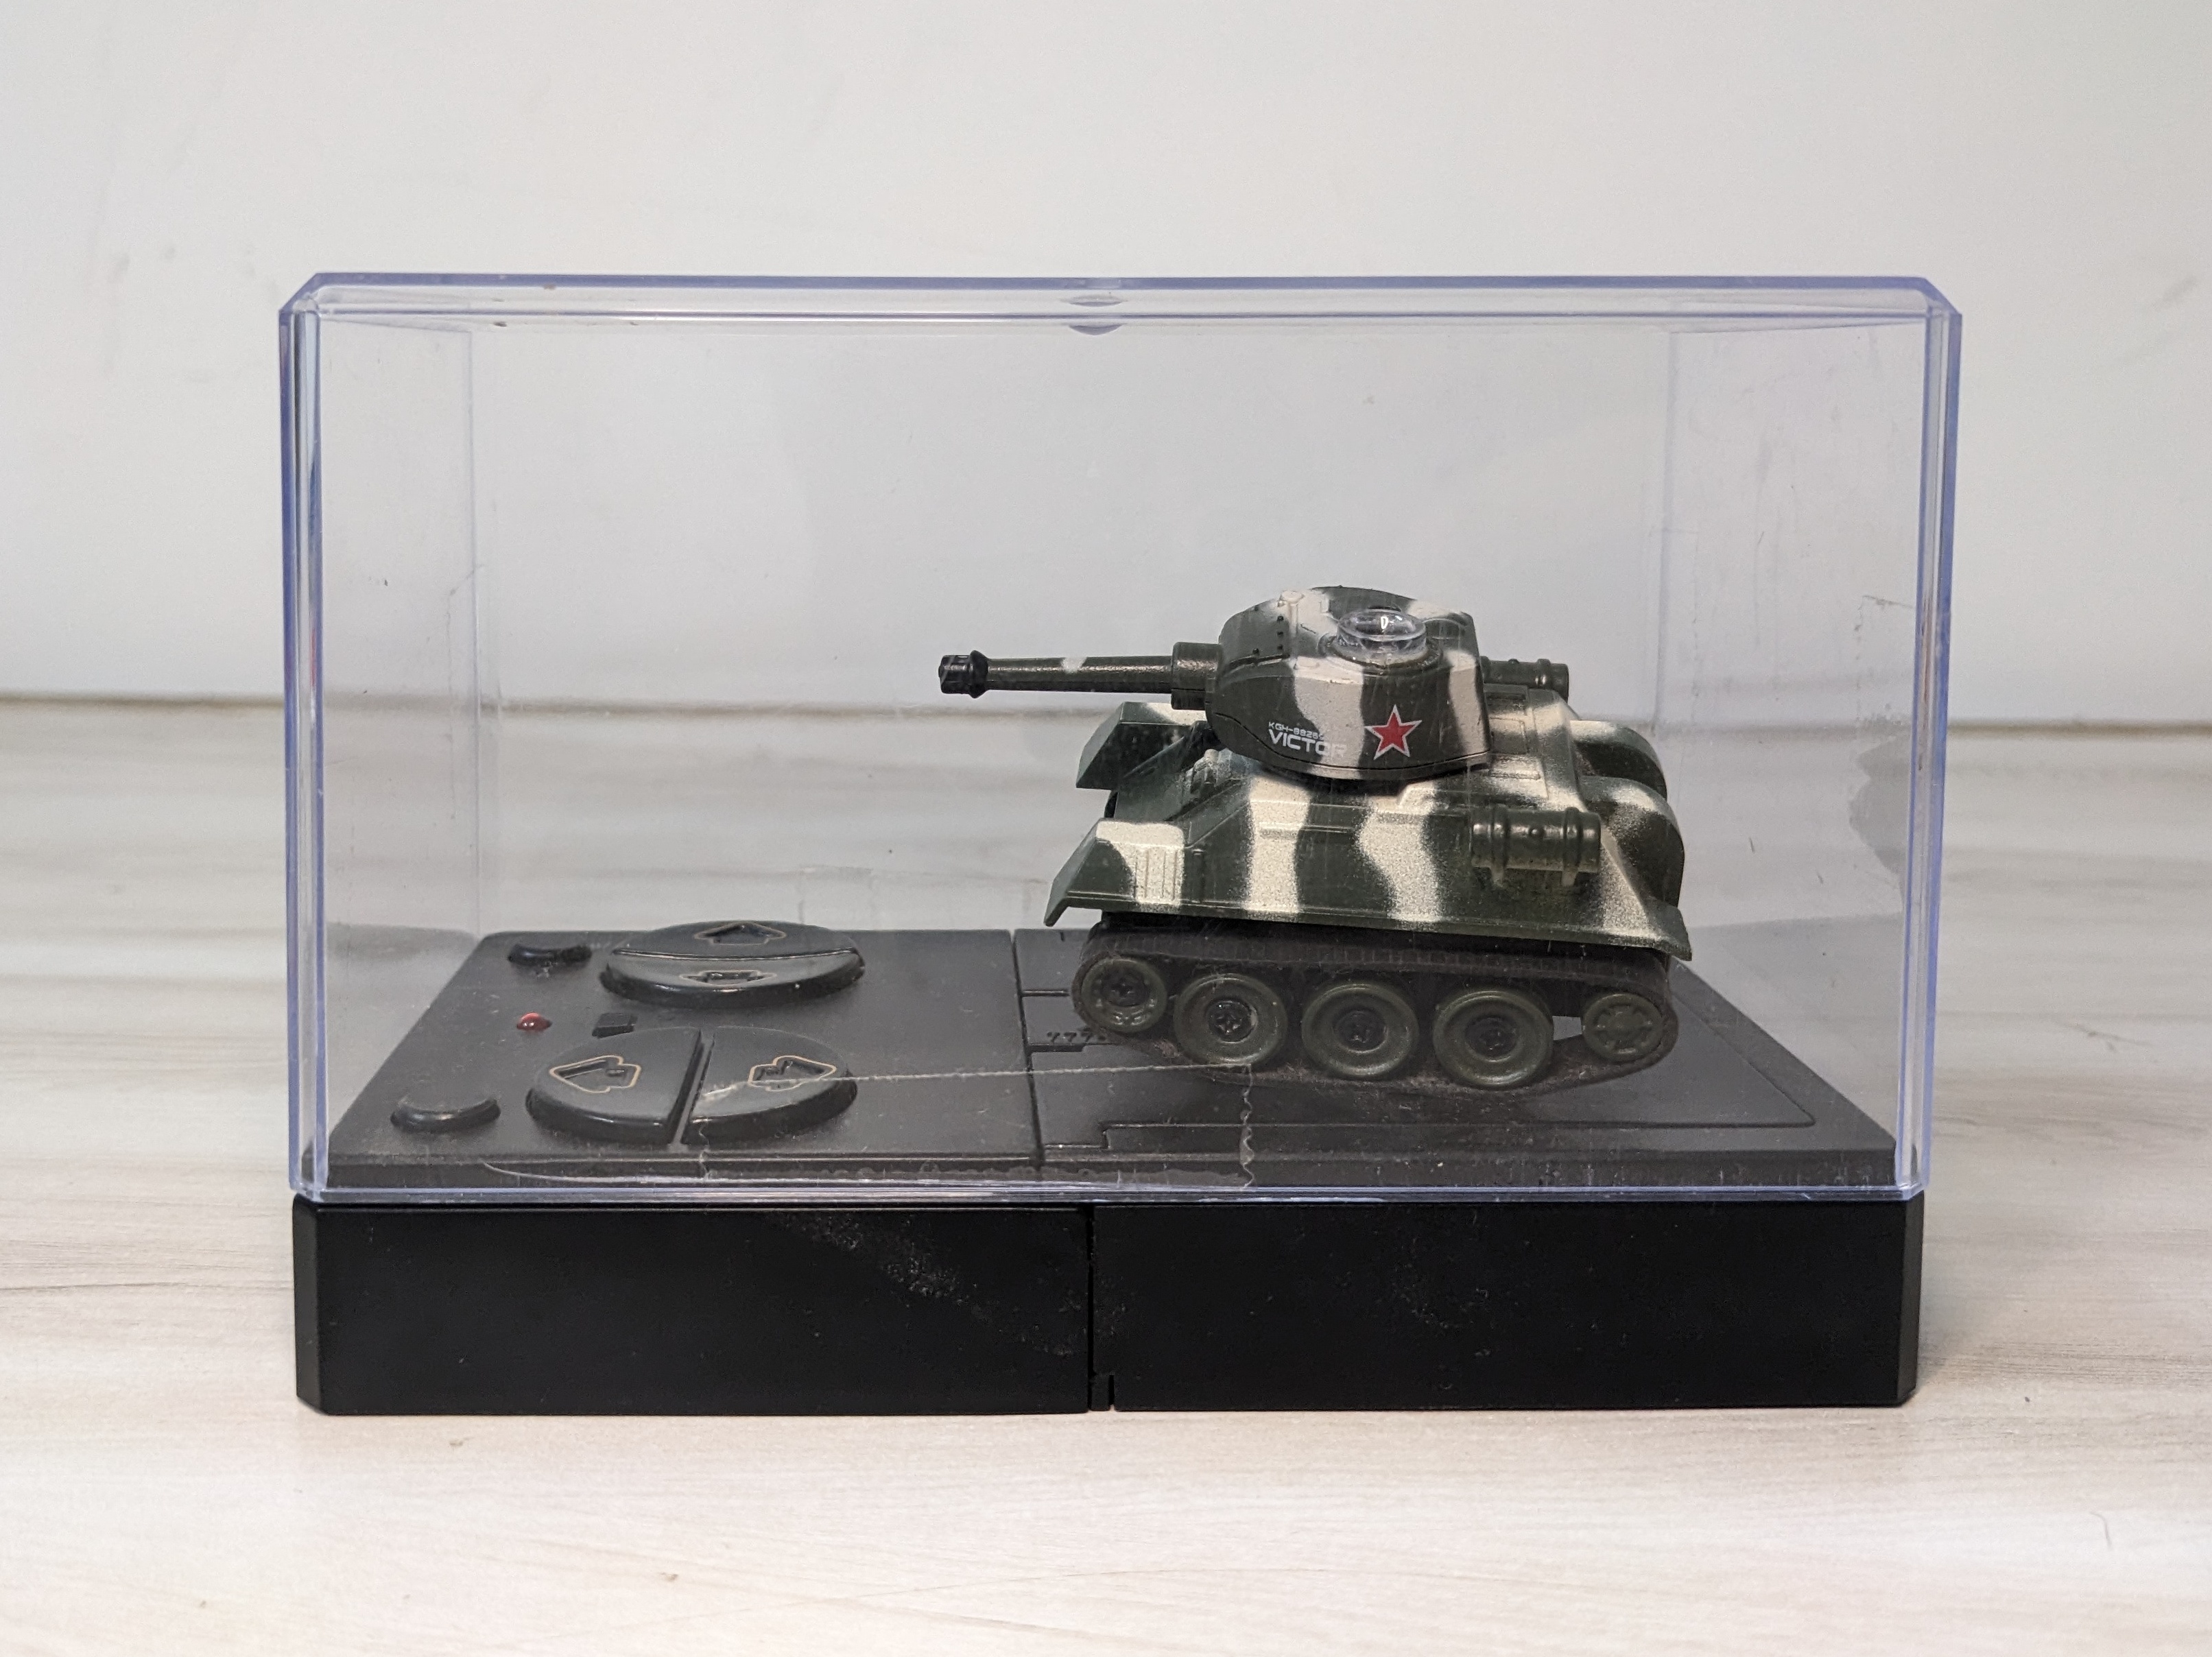
I bought this little toy tank a couple of years ago. It was fun to play with for a bit. But after some time, it felt like it could do more. It didn't have proportional speed control, and there were no cool shooting lights.
I thought about upgrading it, but I was busy with other things. Recently, I designed a control board called Mikro. This tank project seemed like a good way to try out the features of this board. So, let's upgrade this toy tank!
List of components:
- Mini RC Tank
- Wireless Control Board (Mikro)
- Micro LEDs with Pre-soldered Wires
- Tactile Push Button - On/Off Switch
- Mini Lithium-ion (Li-ion) Battery Cell
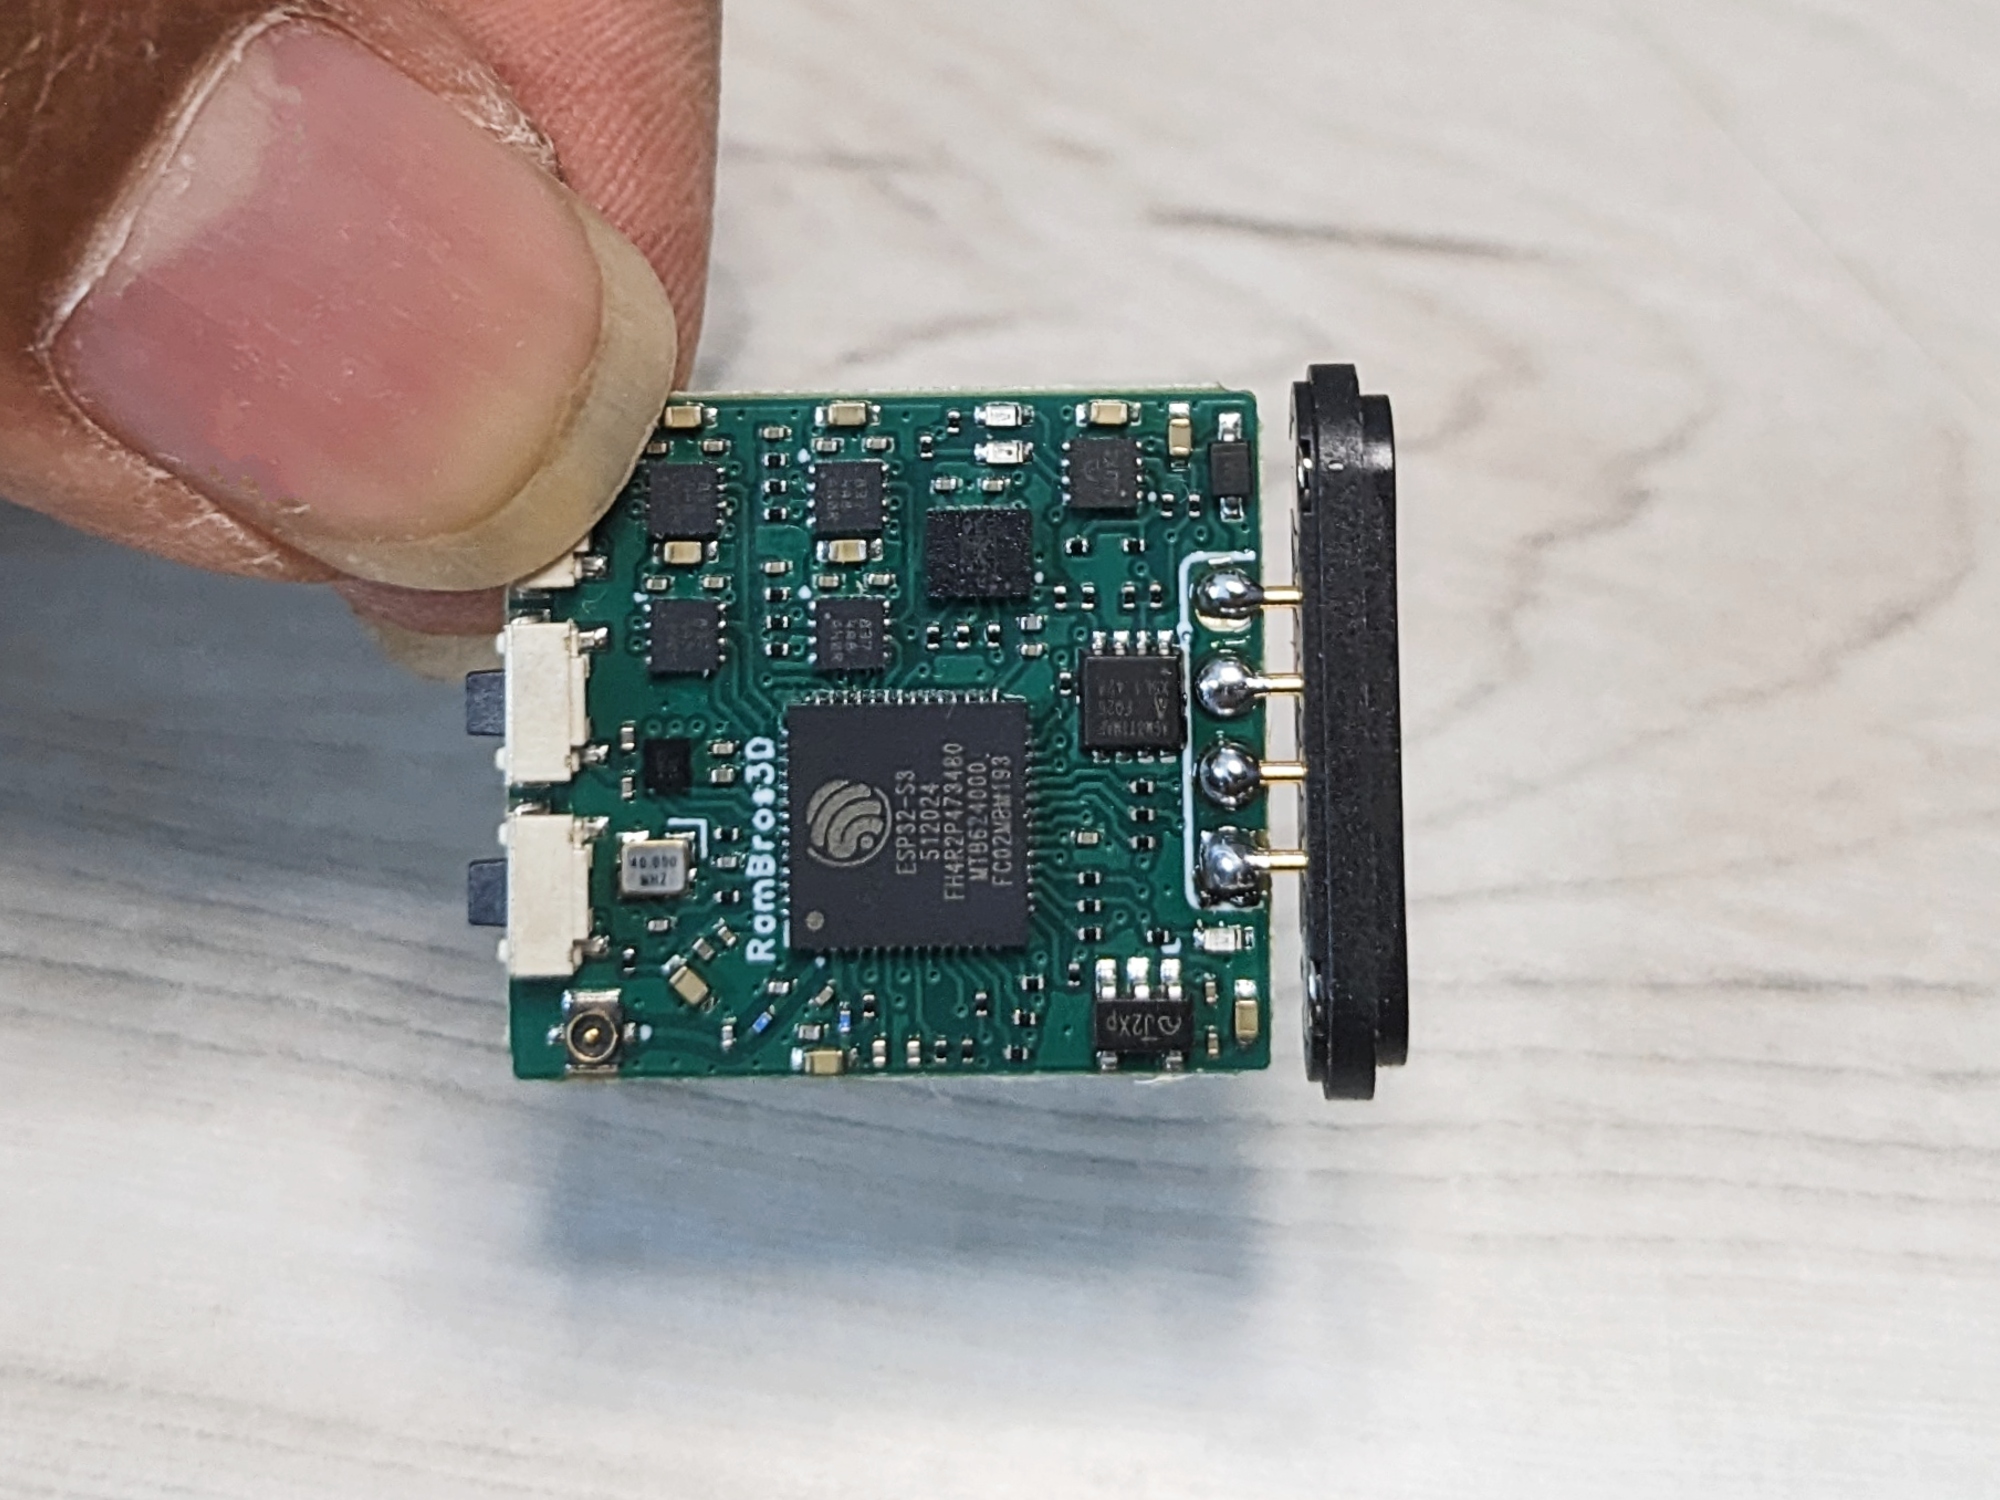
For the electronics to control the tank, you could use any ESP32 based board, it can be connected to motor drivers and battery charging circuits to control RC toys. For this project, I chose to use the Mikro board because it is small enough to fit inside the tank's body.
About the power, the original toy tank used a 2.4V NiMH battery. However, the Mikro board is designed to work with lithium batteries only. So I used a lithium cell which was lying around.
Mikro is an Open Source Project: View the design on OSHWLAB
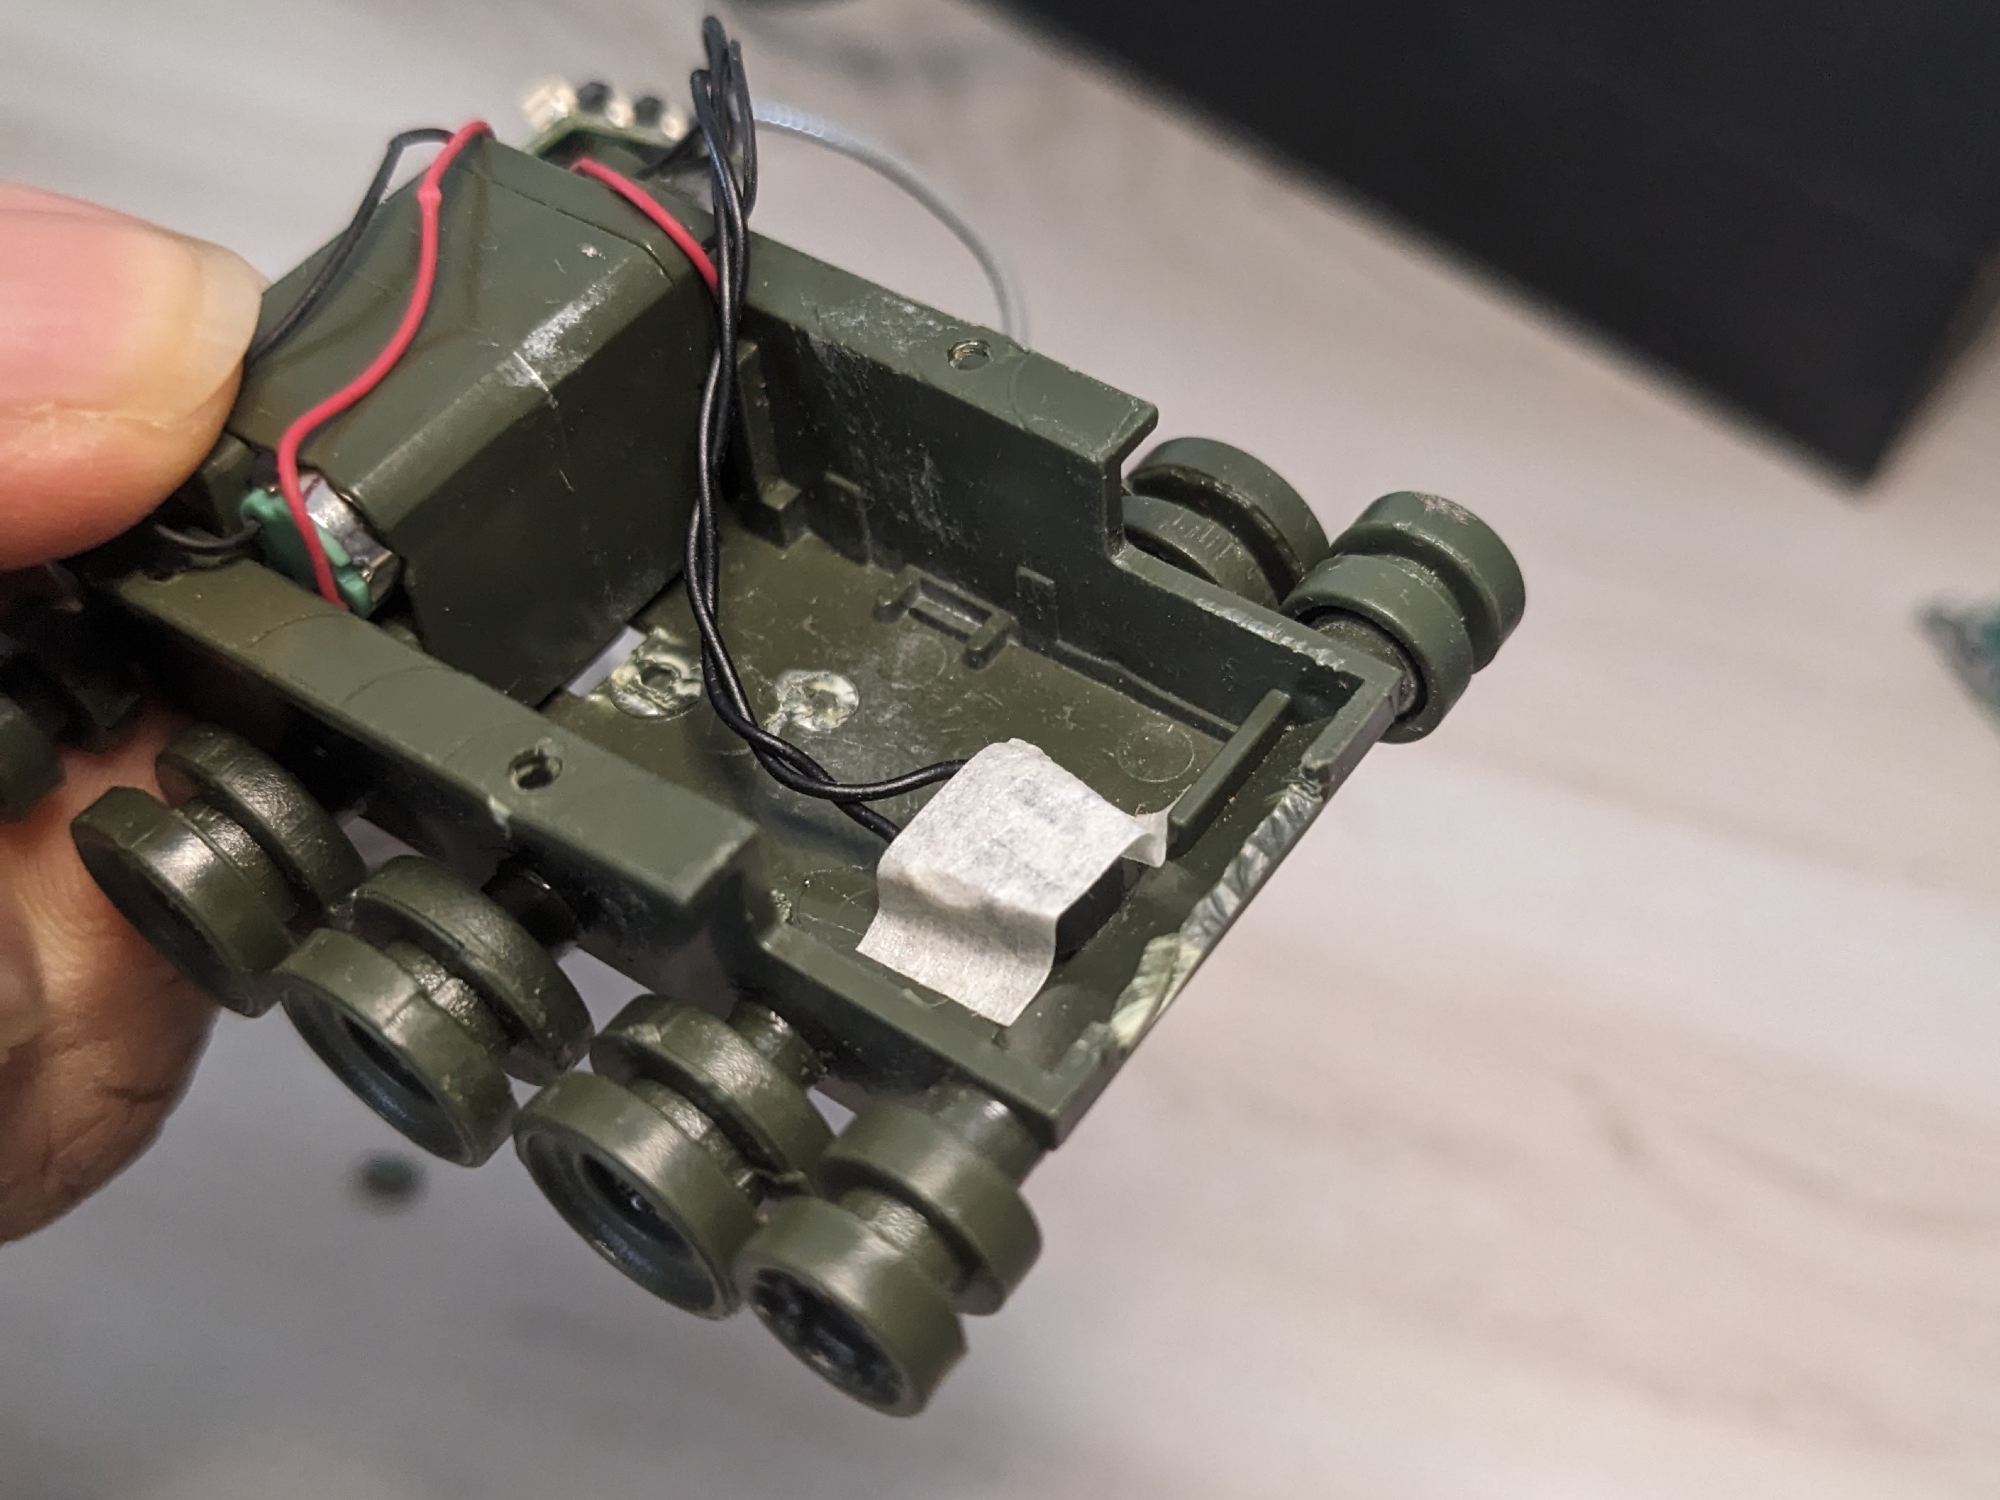
1. Disassembly
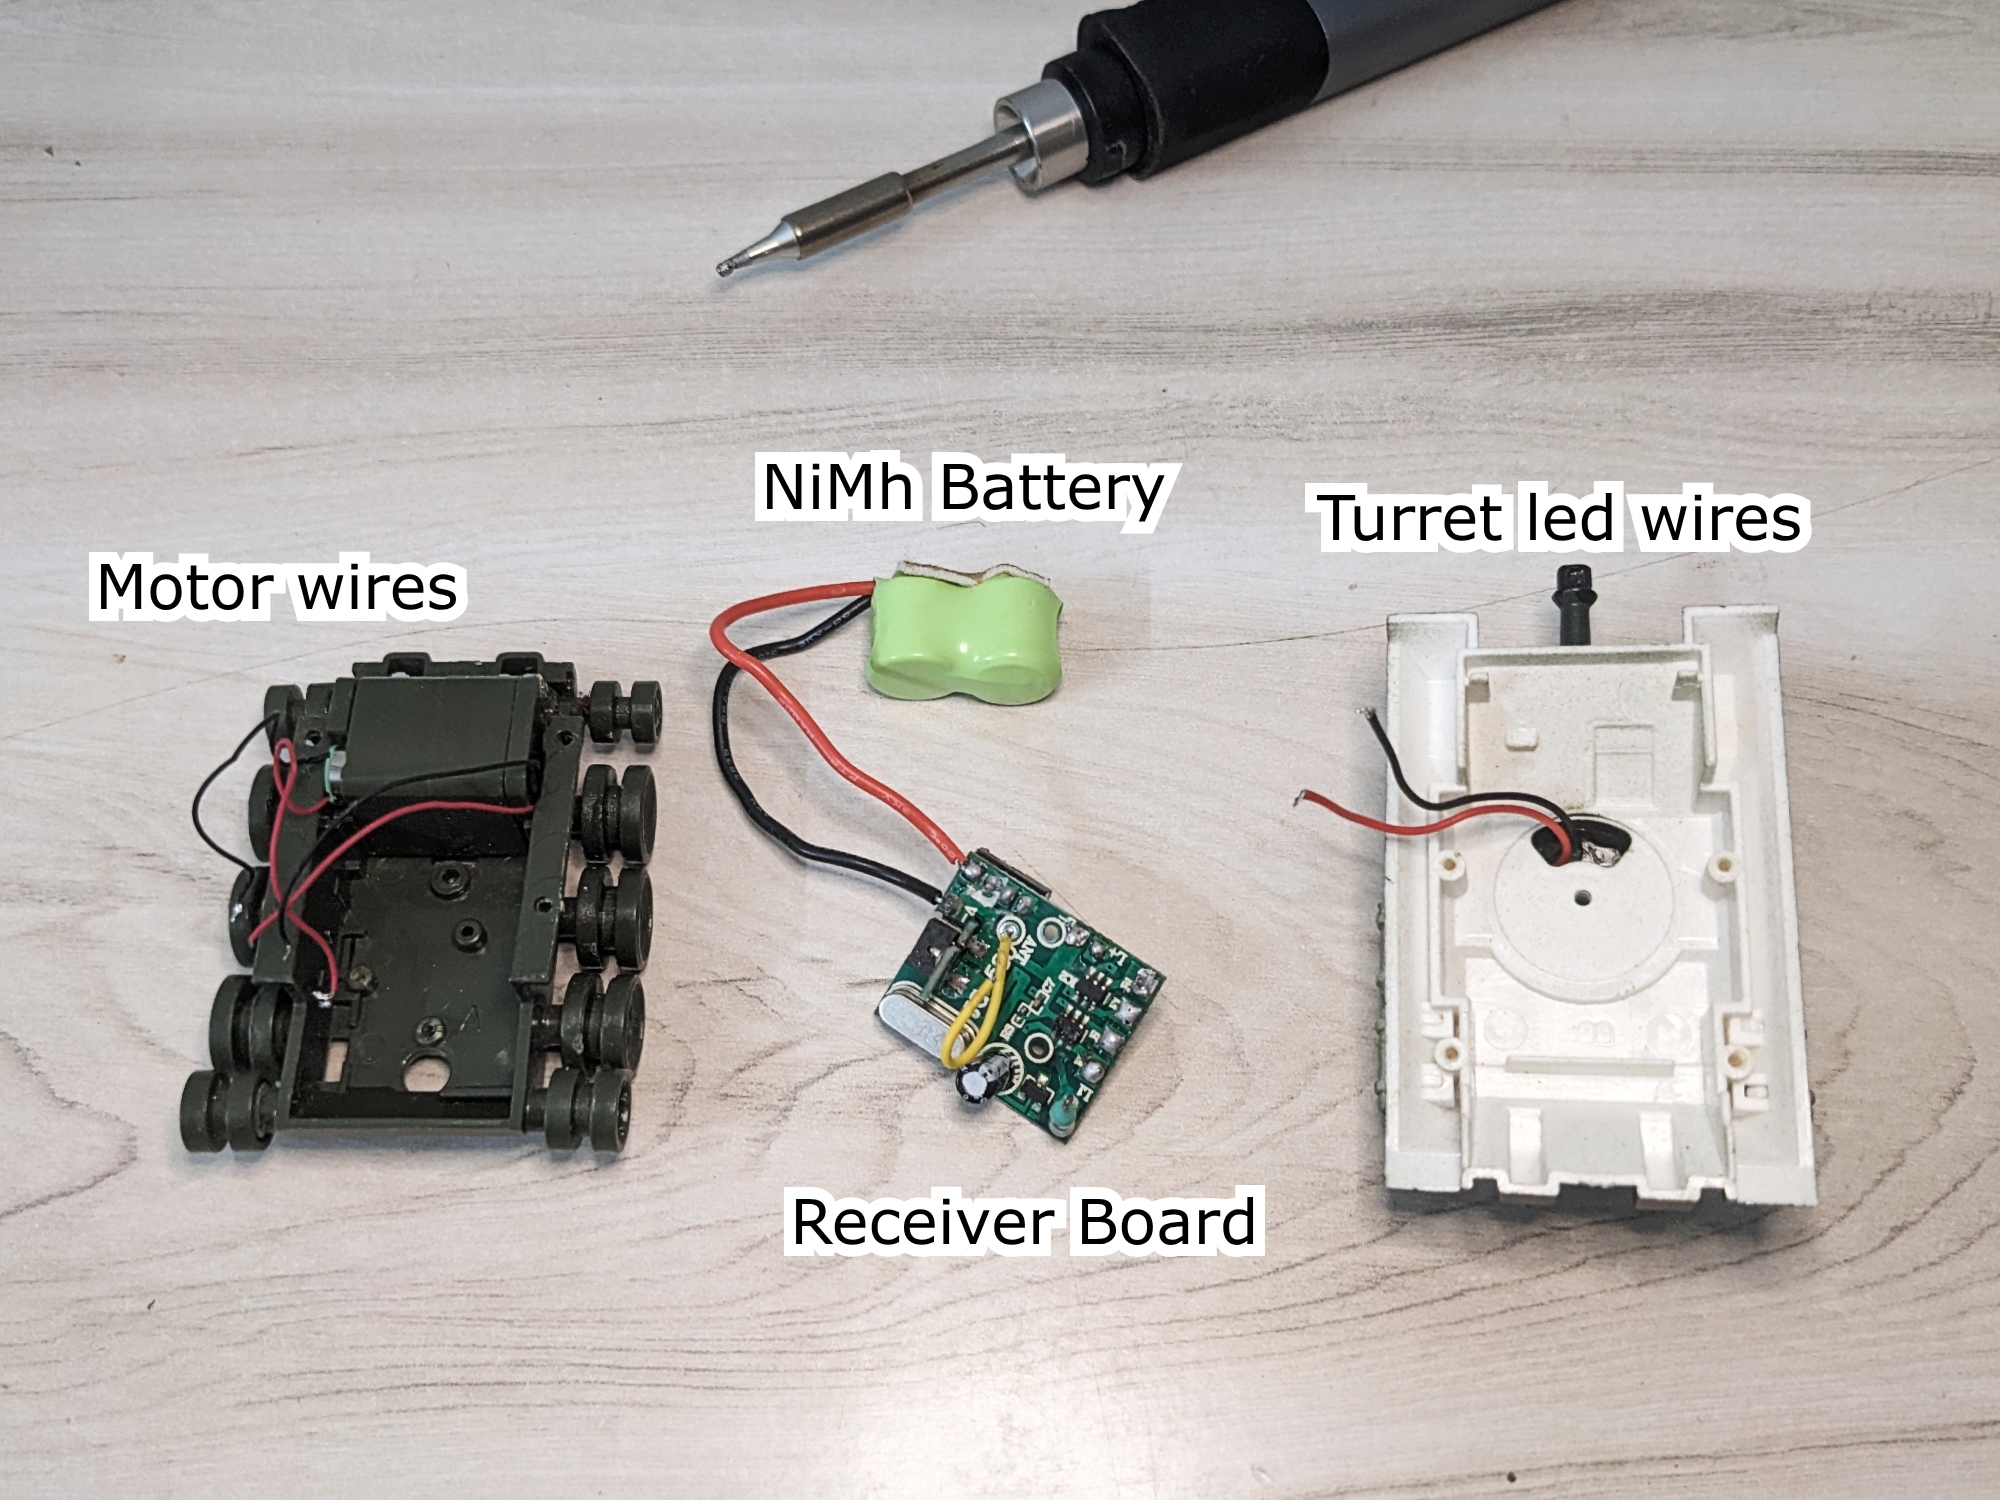
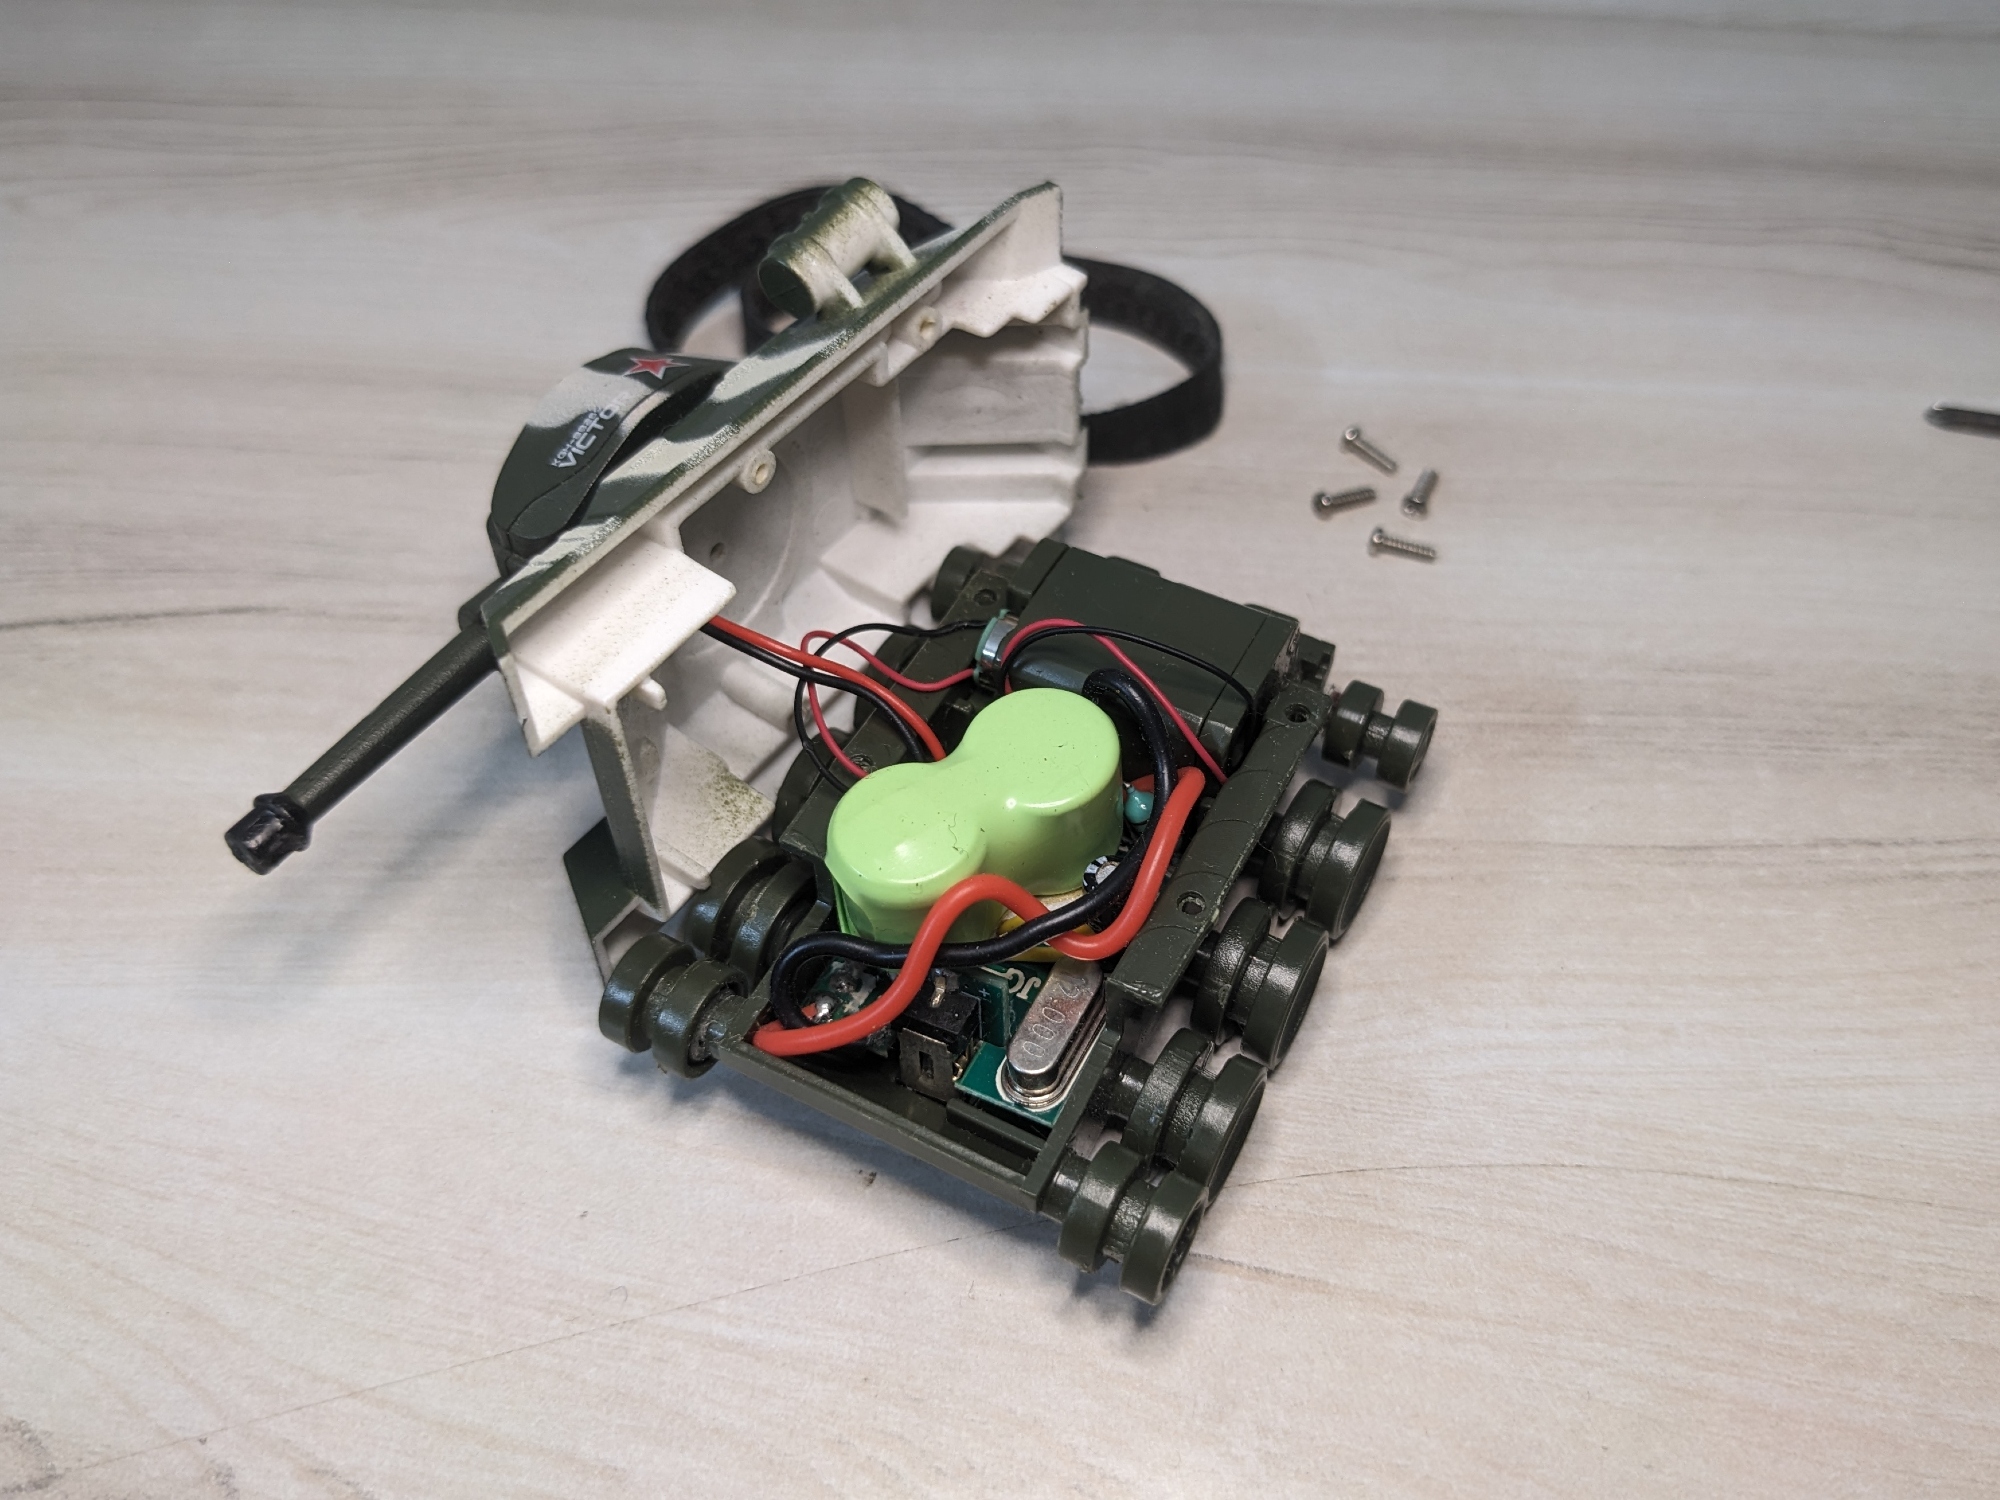
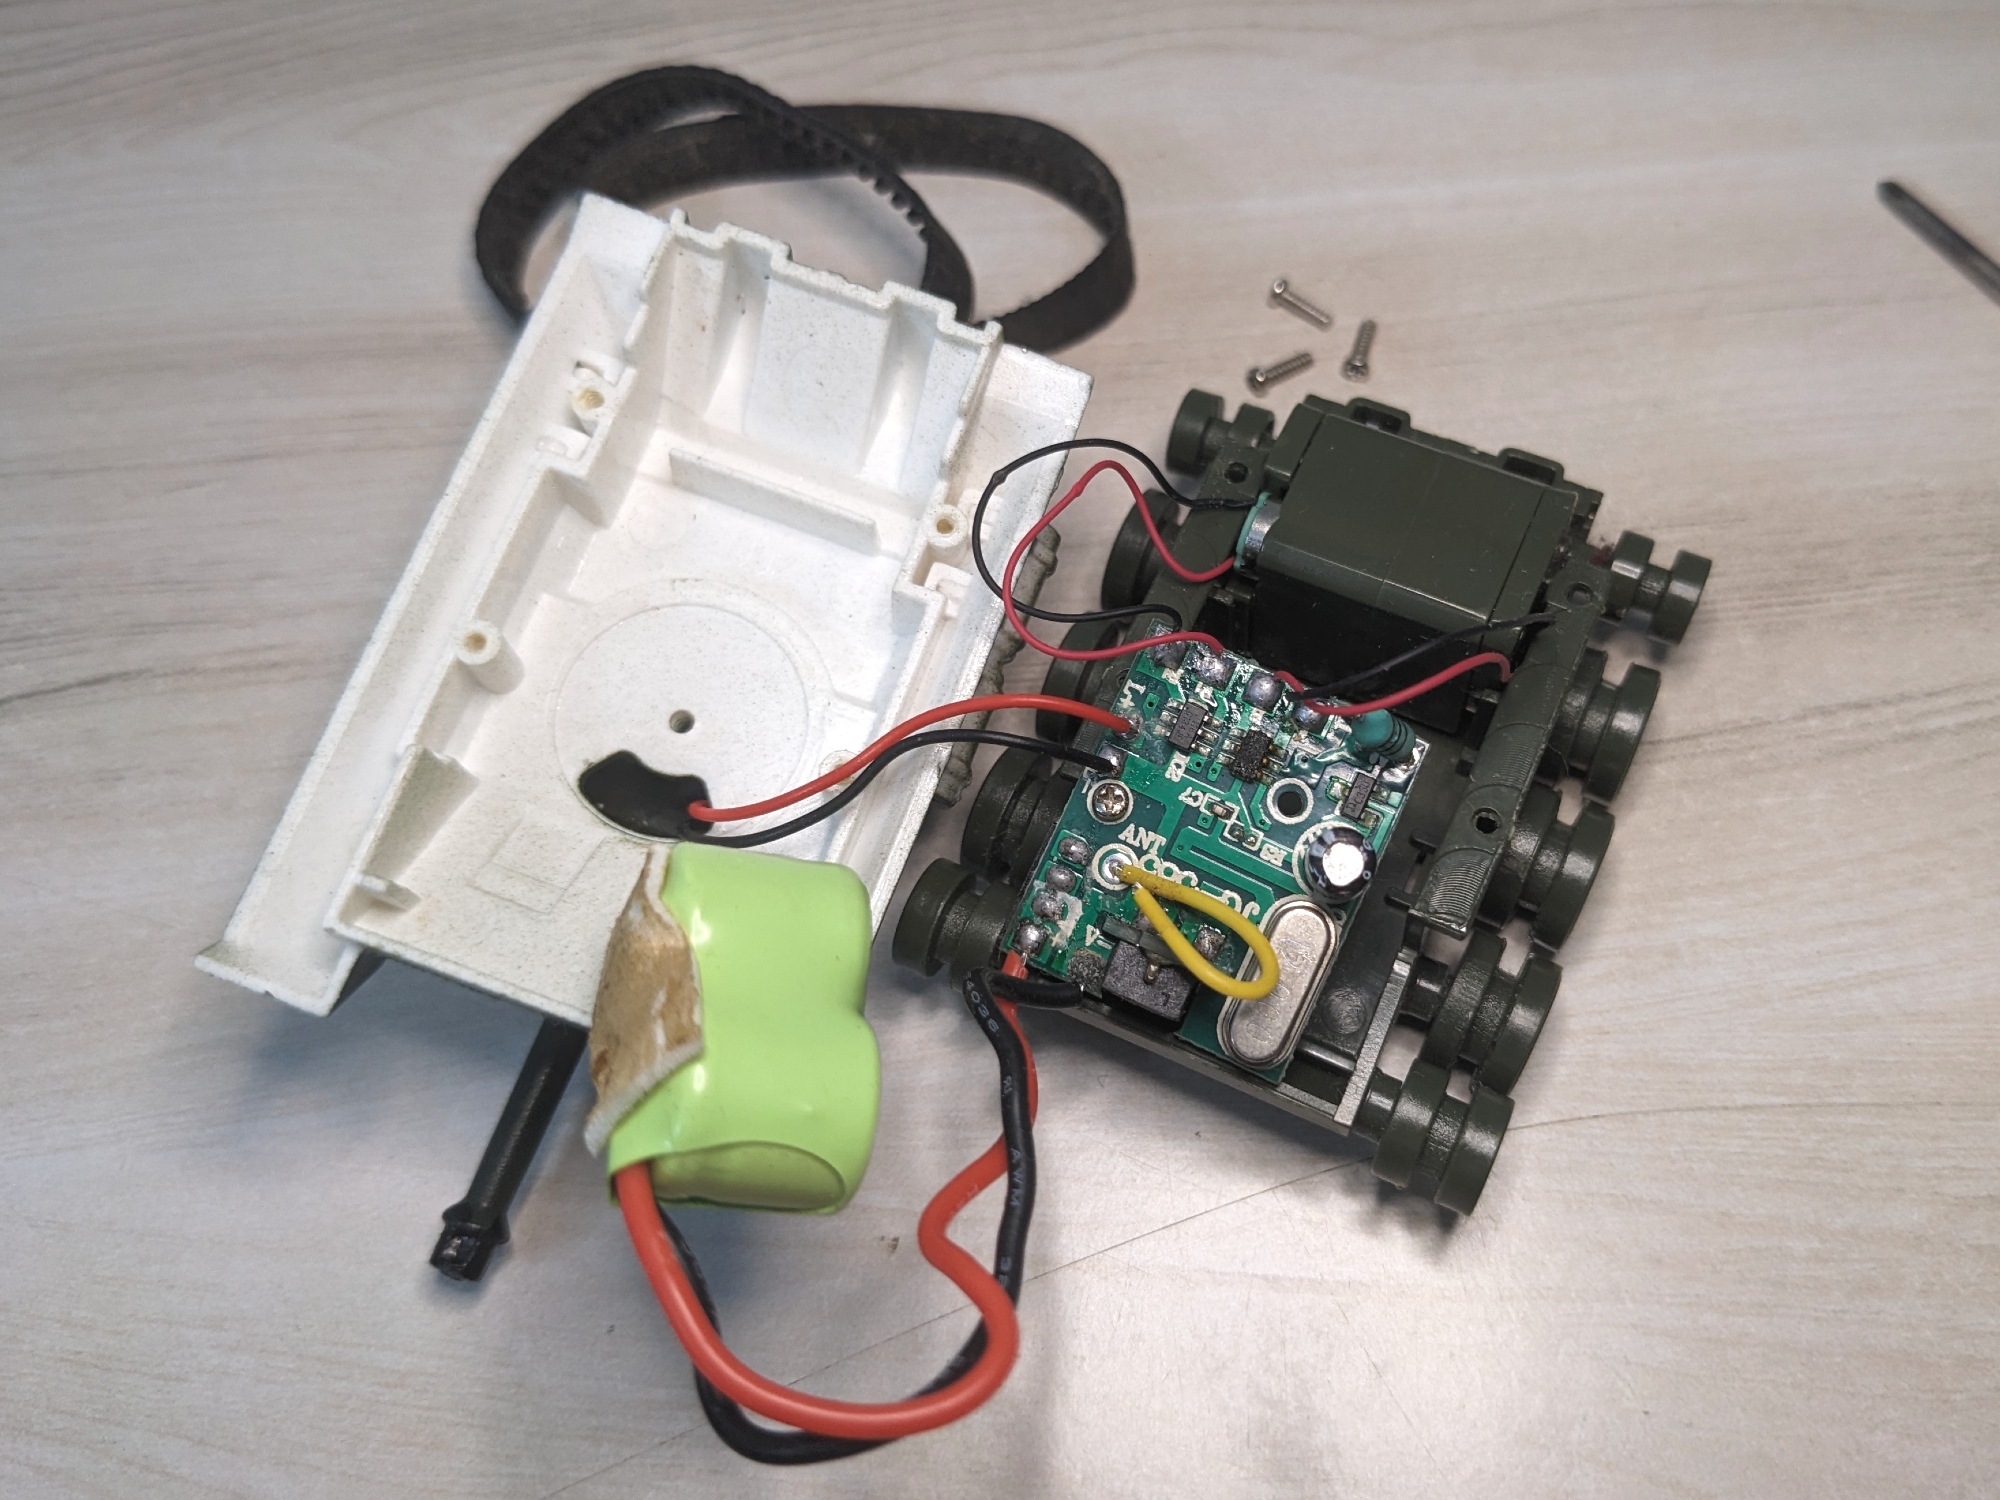

Disassembling the tank was an easy job. There were only 4 screws securing the body, they were easily accessible after removing the rubber tracks.
After that the only thing left to do was soldering. 4 motor wires, 2 led wires and the battery.
The Battery included is a 2.4V 80mAh NiMh battery. We will replace it with a higher capacity 3.7V 120mAh Li-ion cell.
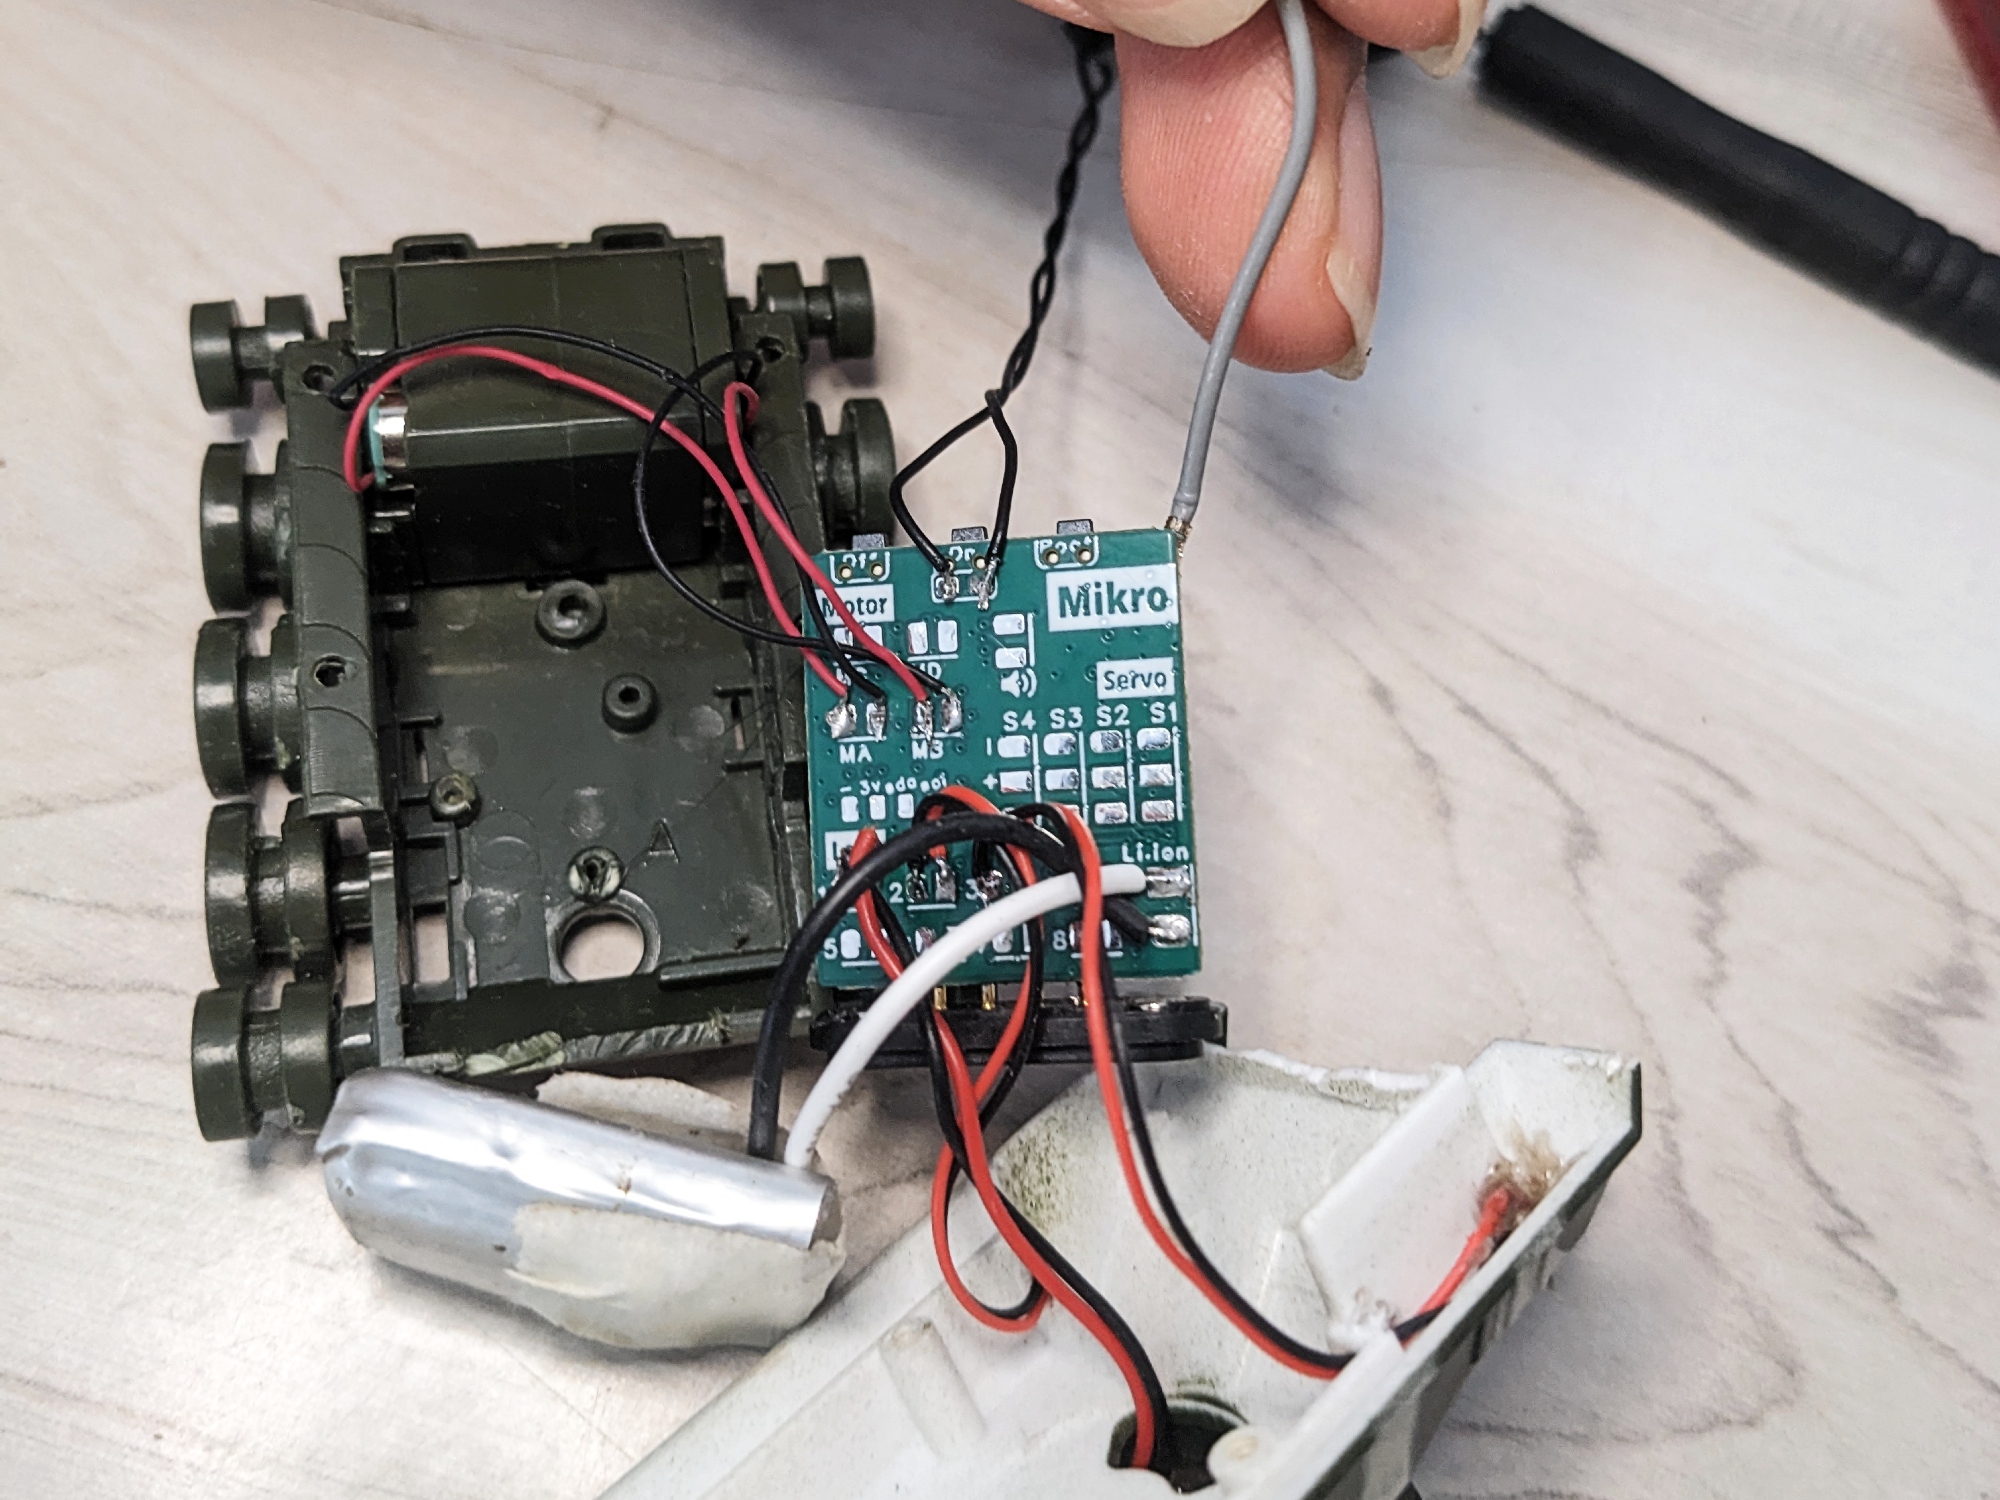
2. Rewiring
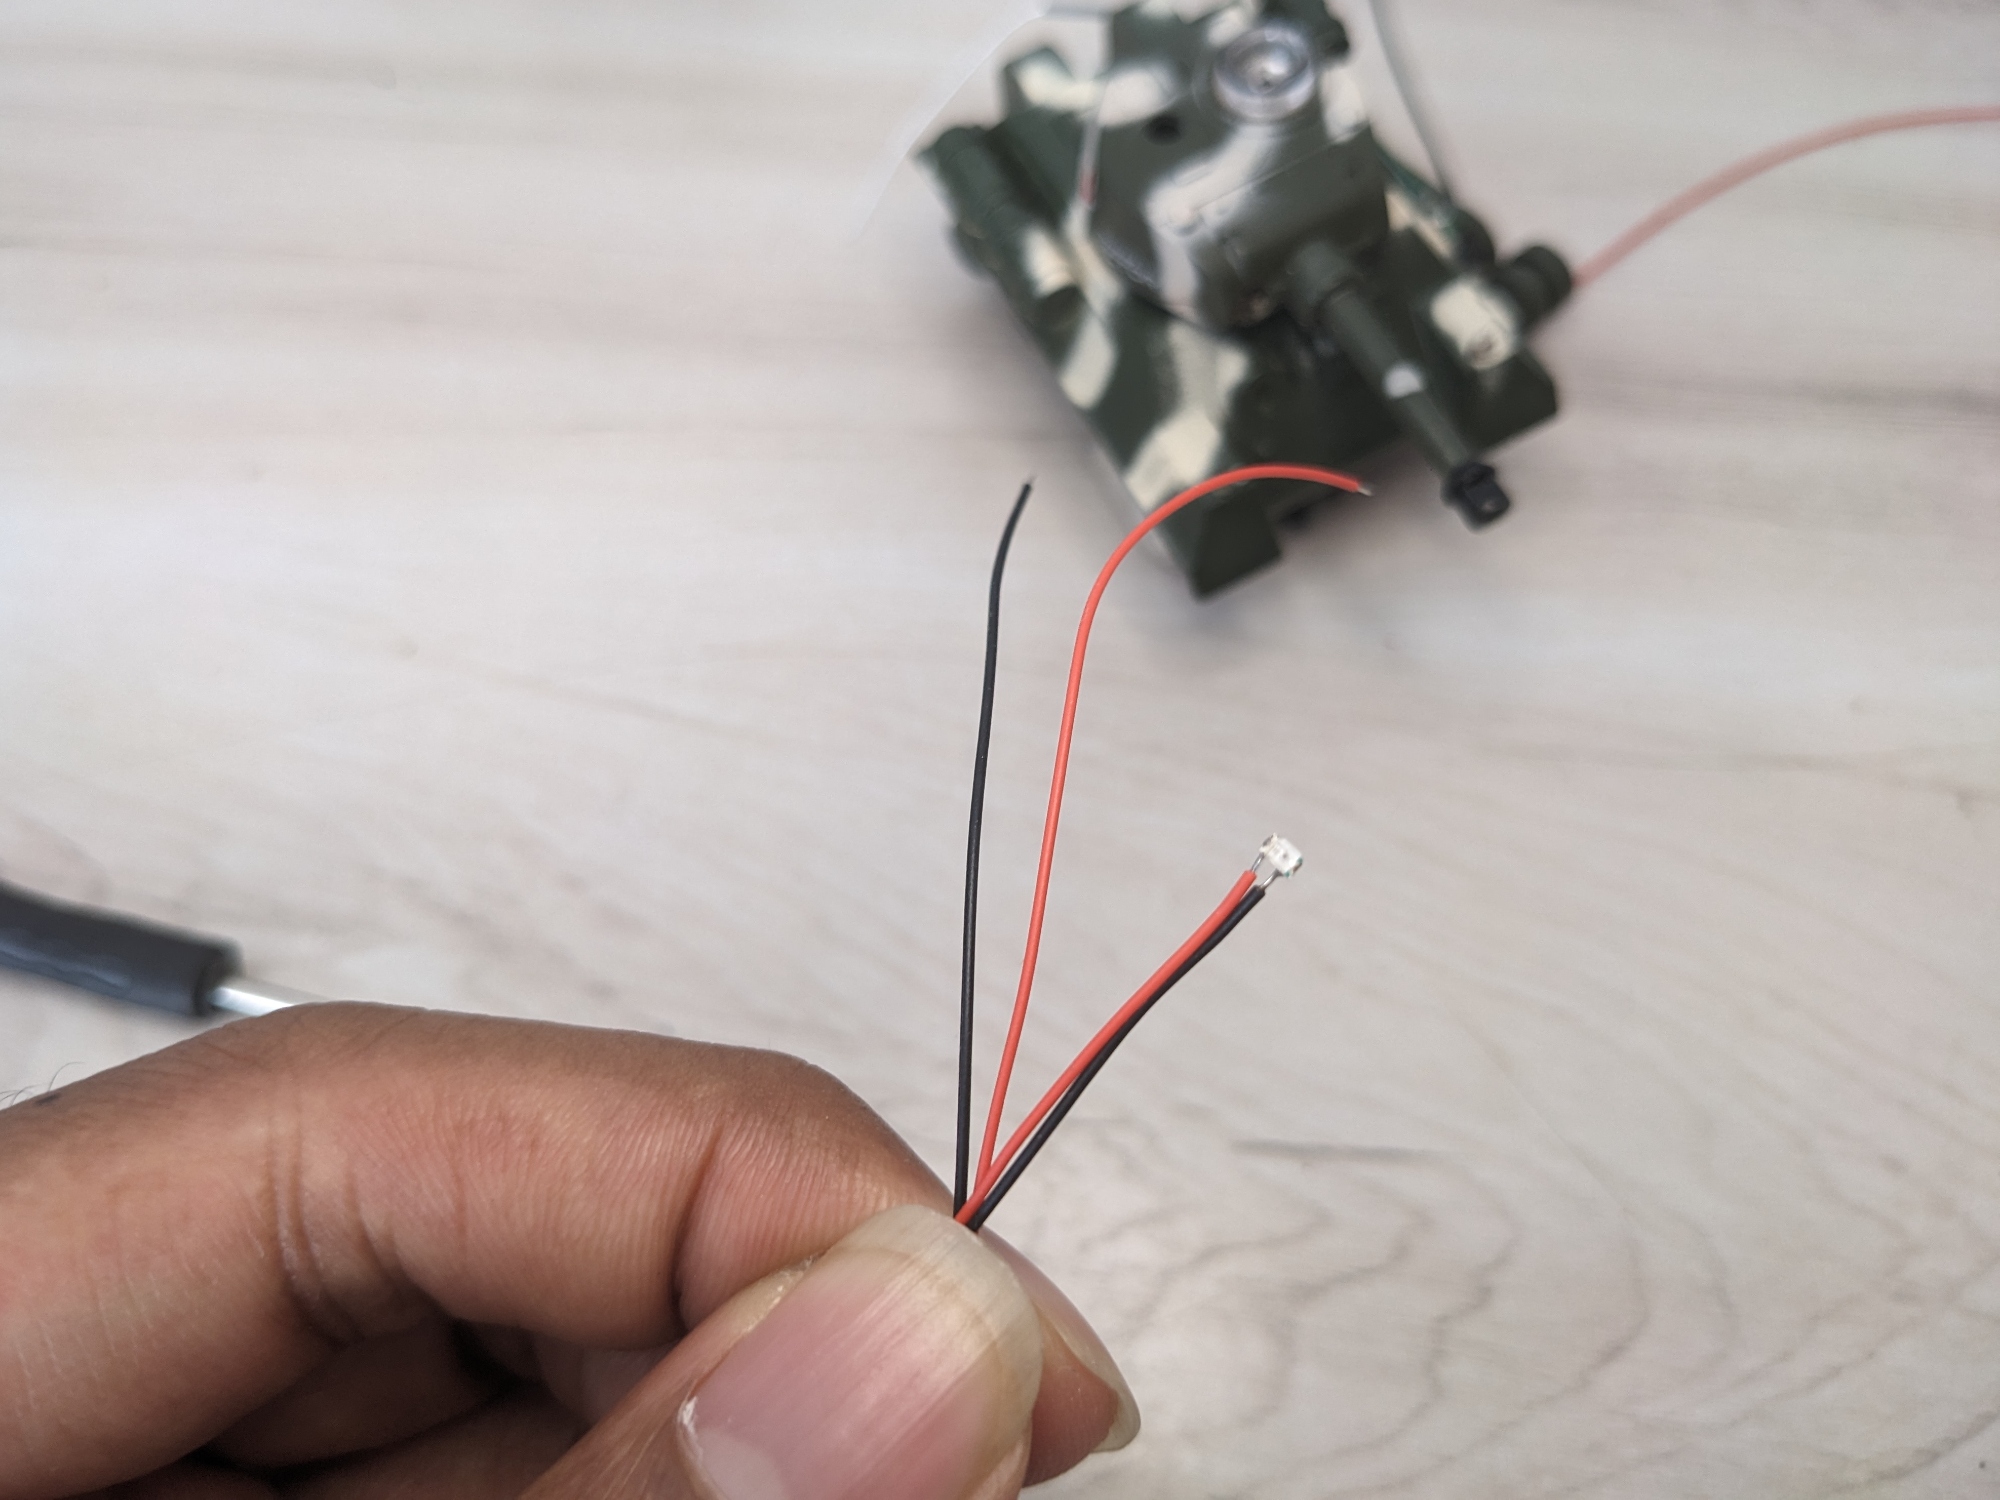

First lets add some headlights, these SMD leds come presoldered with wires. Two holes were made on the tank body and the wires were routed to the inside.
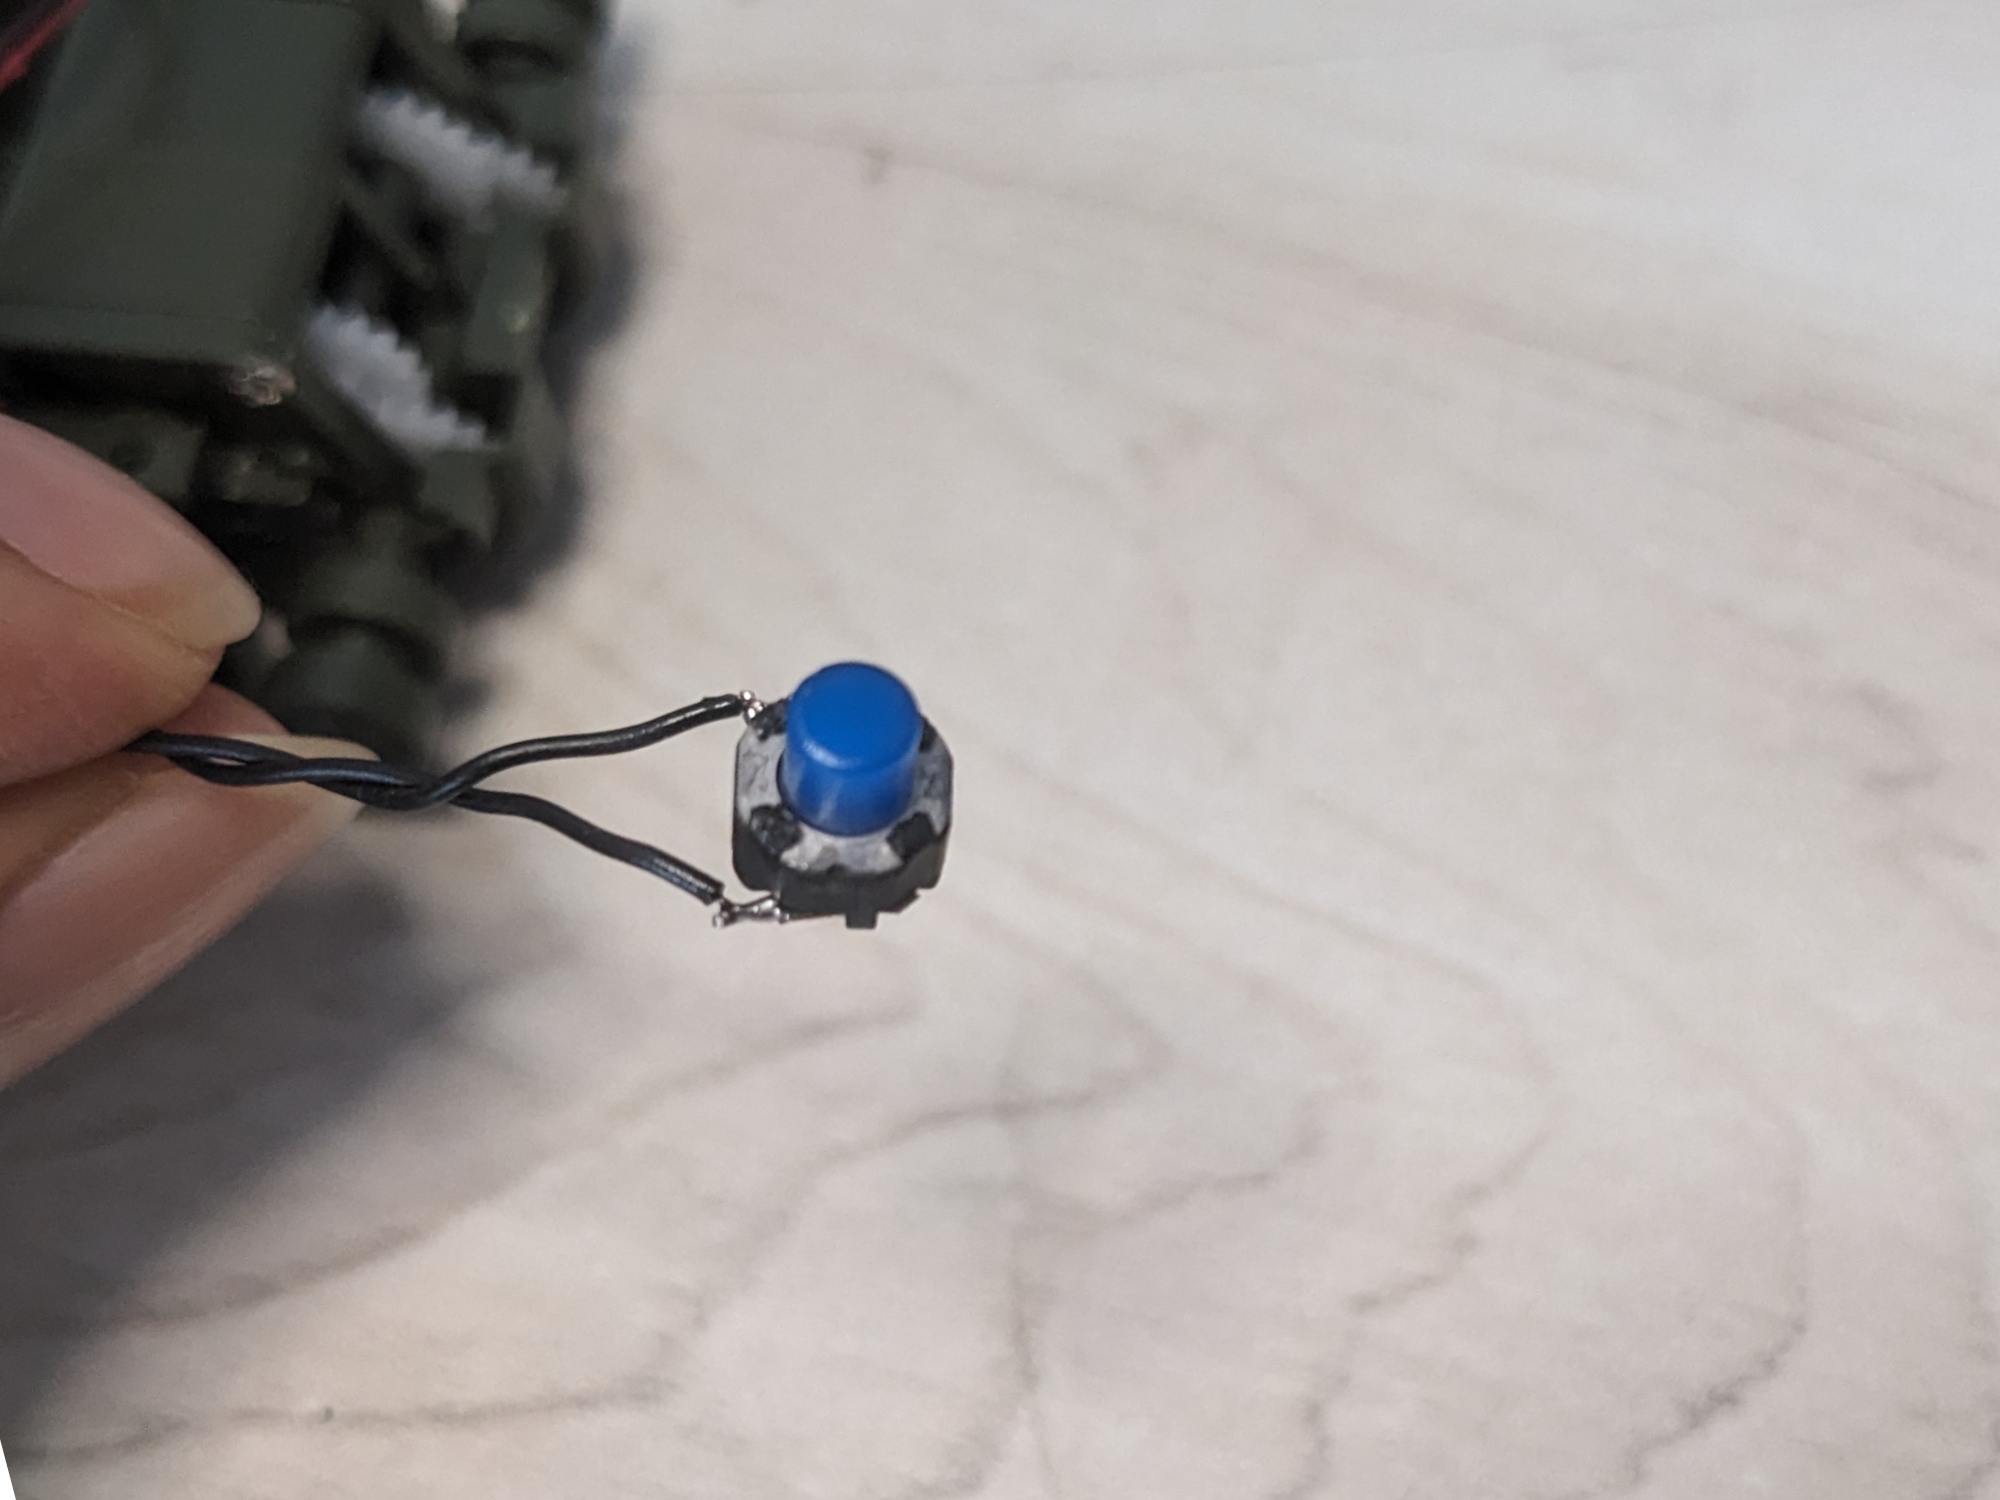
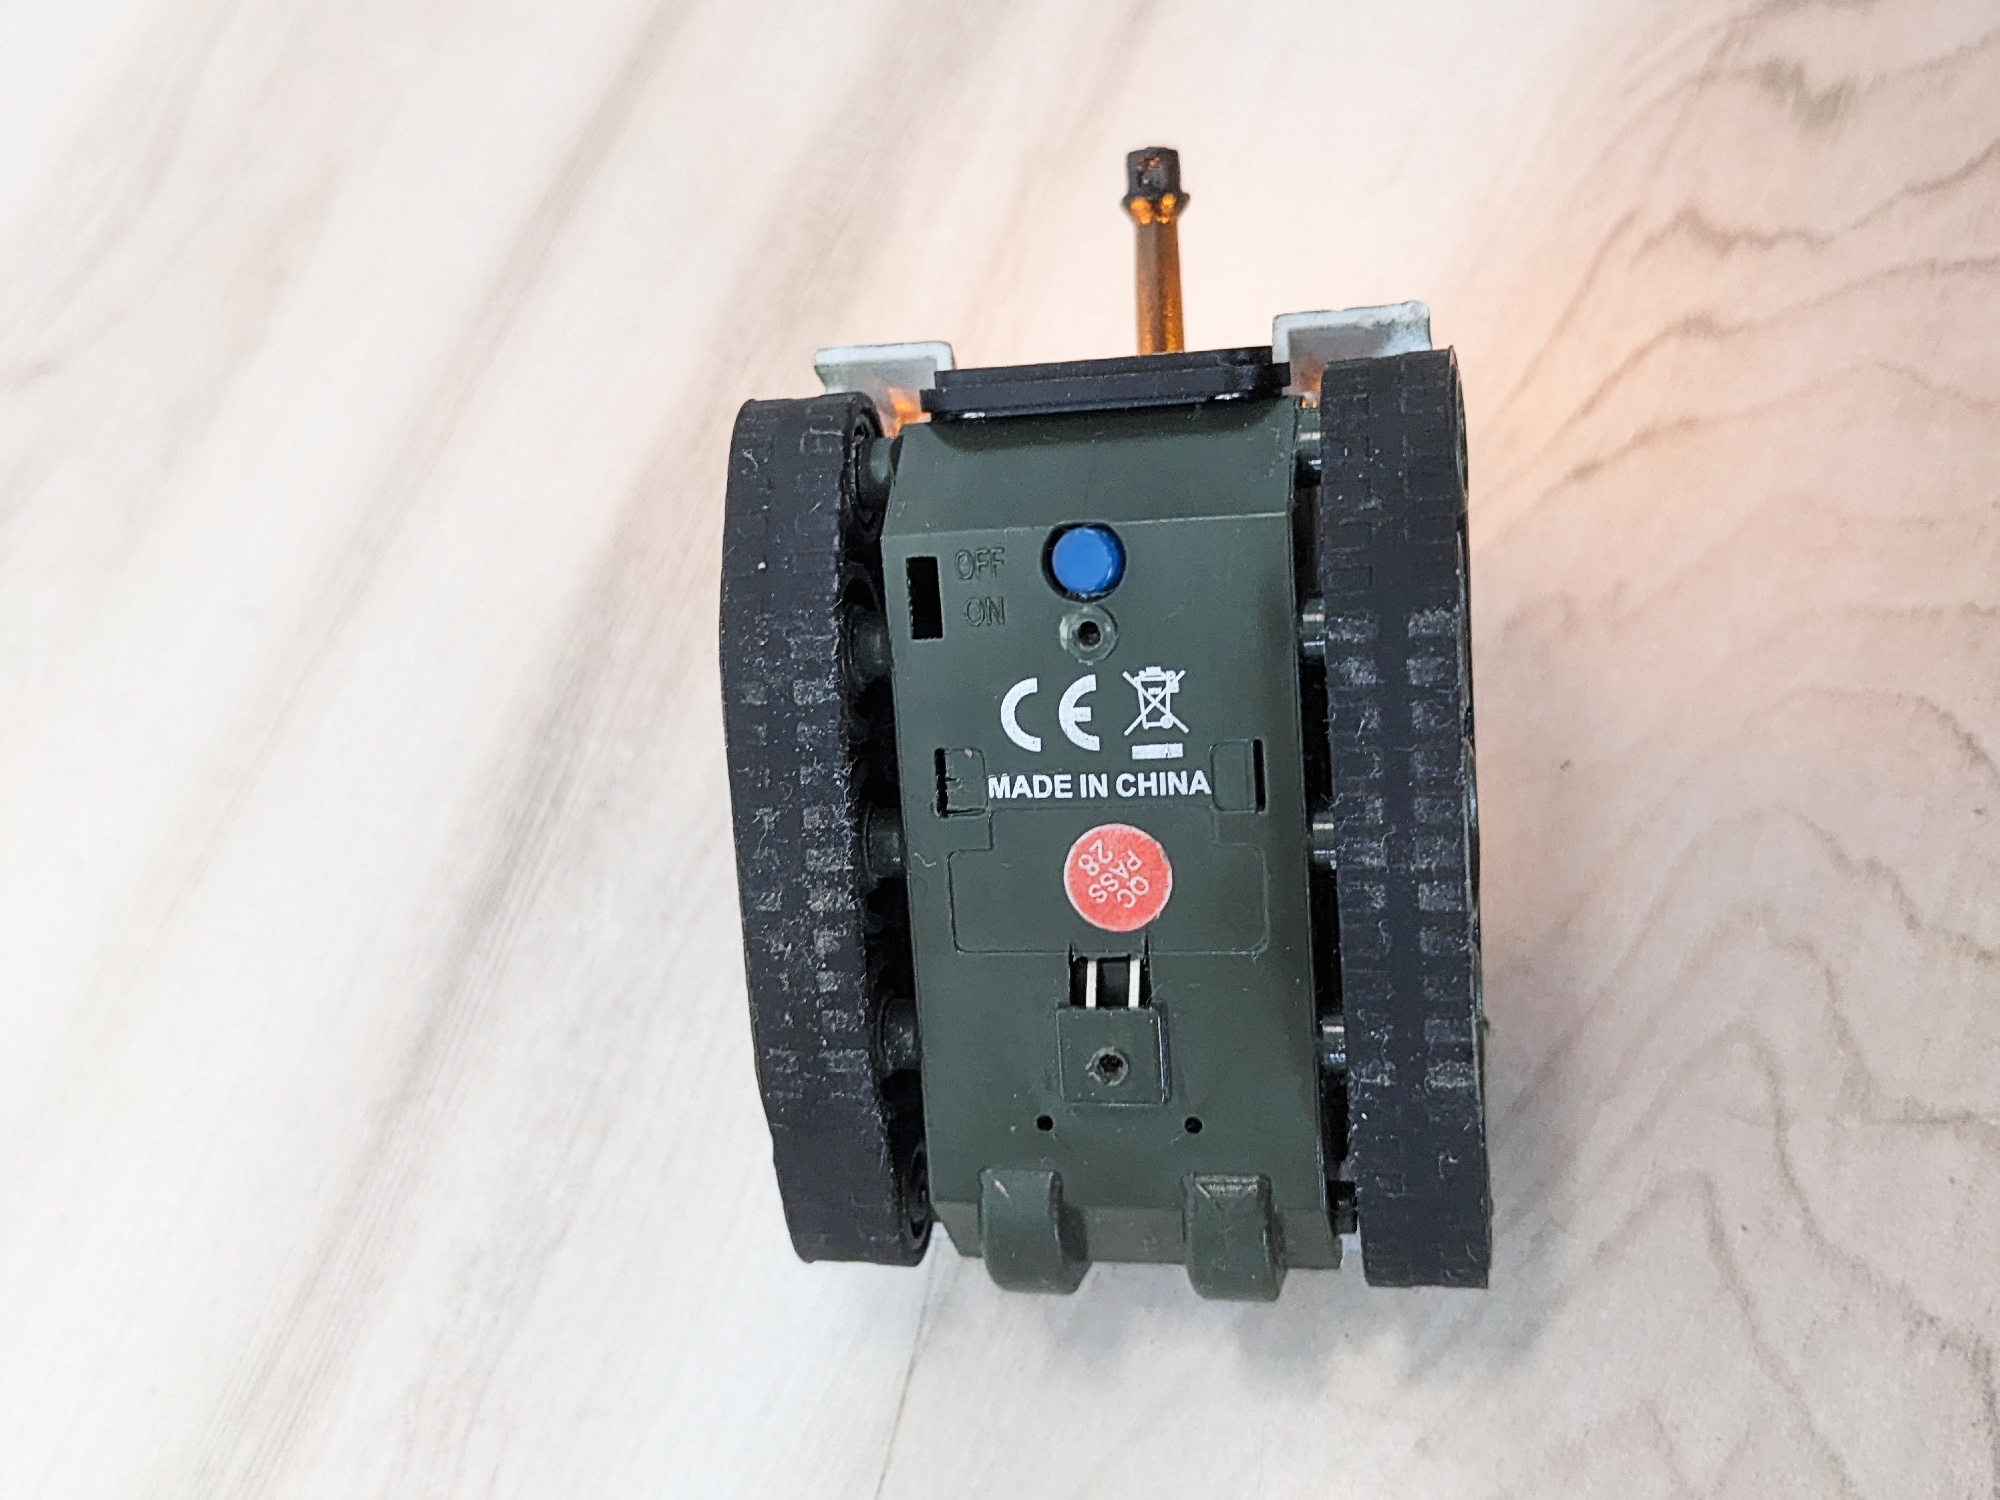
The factory board had an slide switch for power. We will use a tactile switch for power control. The switch is accessible from the bottom of the tank.
Rest of the connections, the motors and the turret led connections are the similar to the factory board.
3. Reassembly
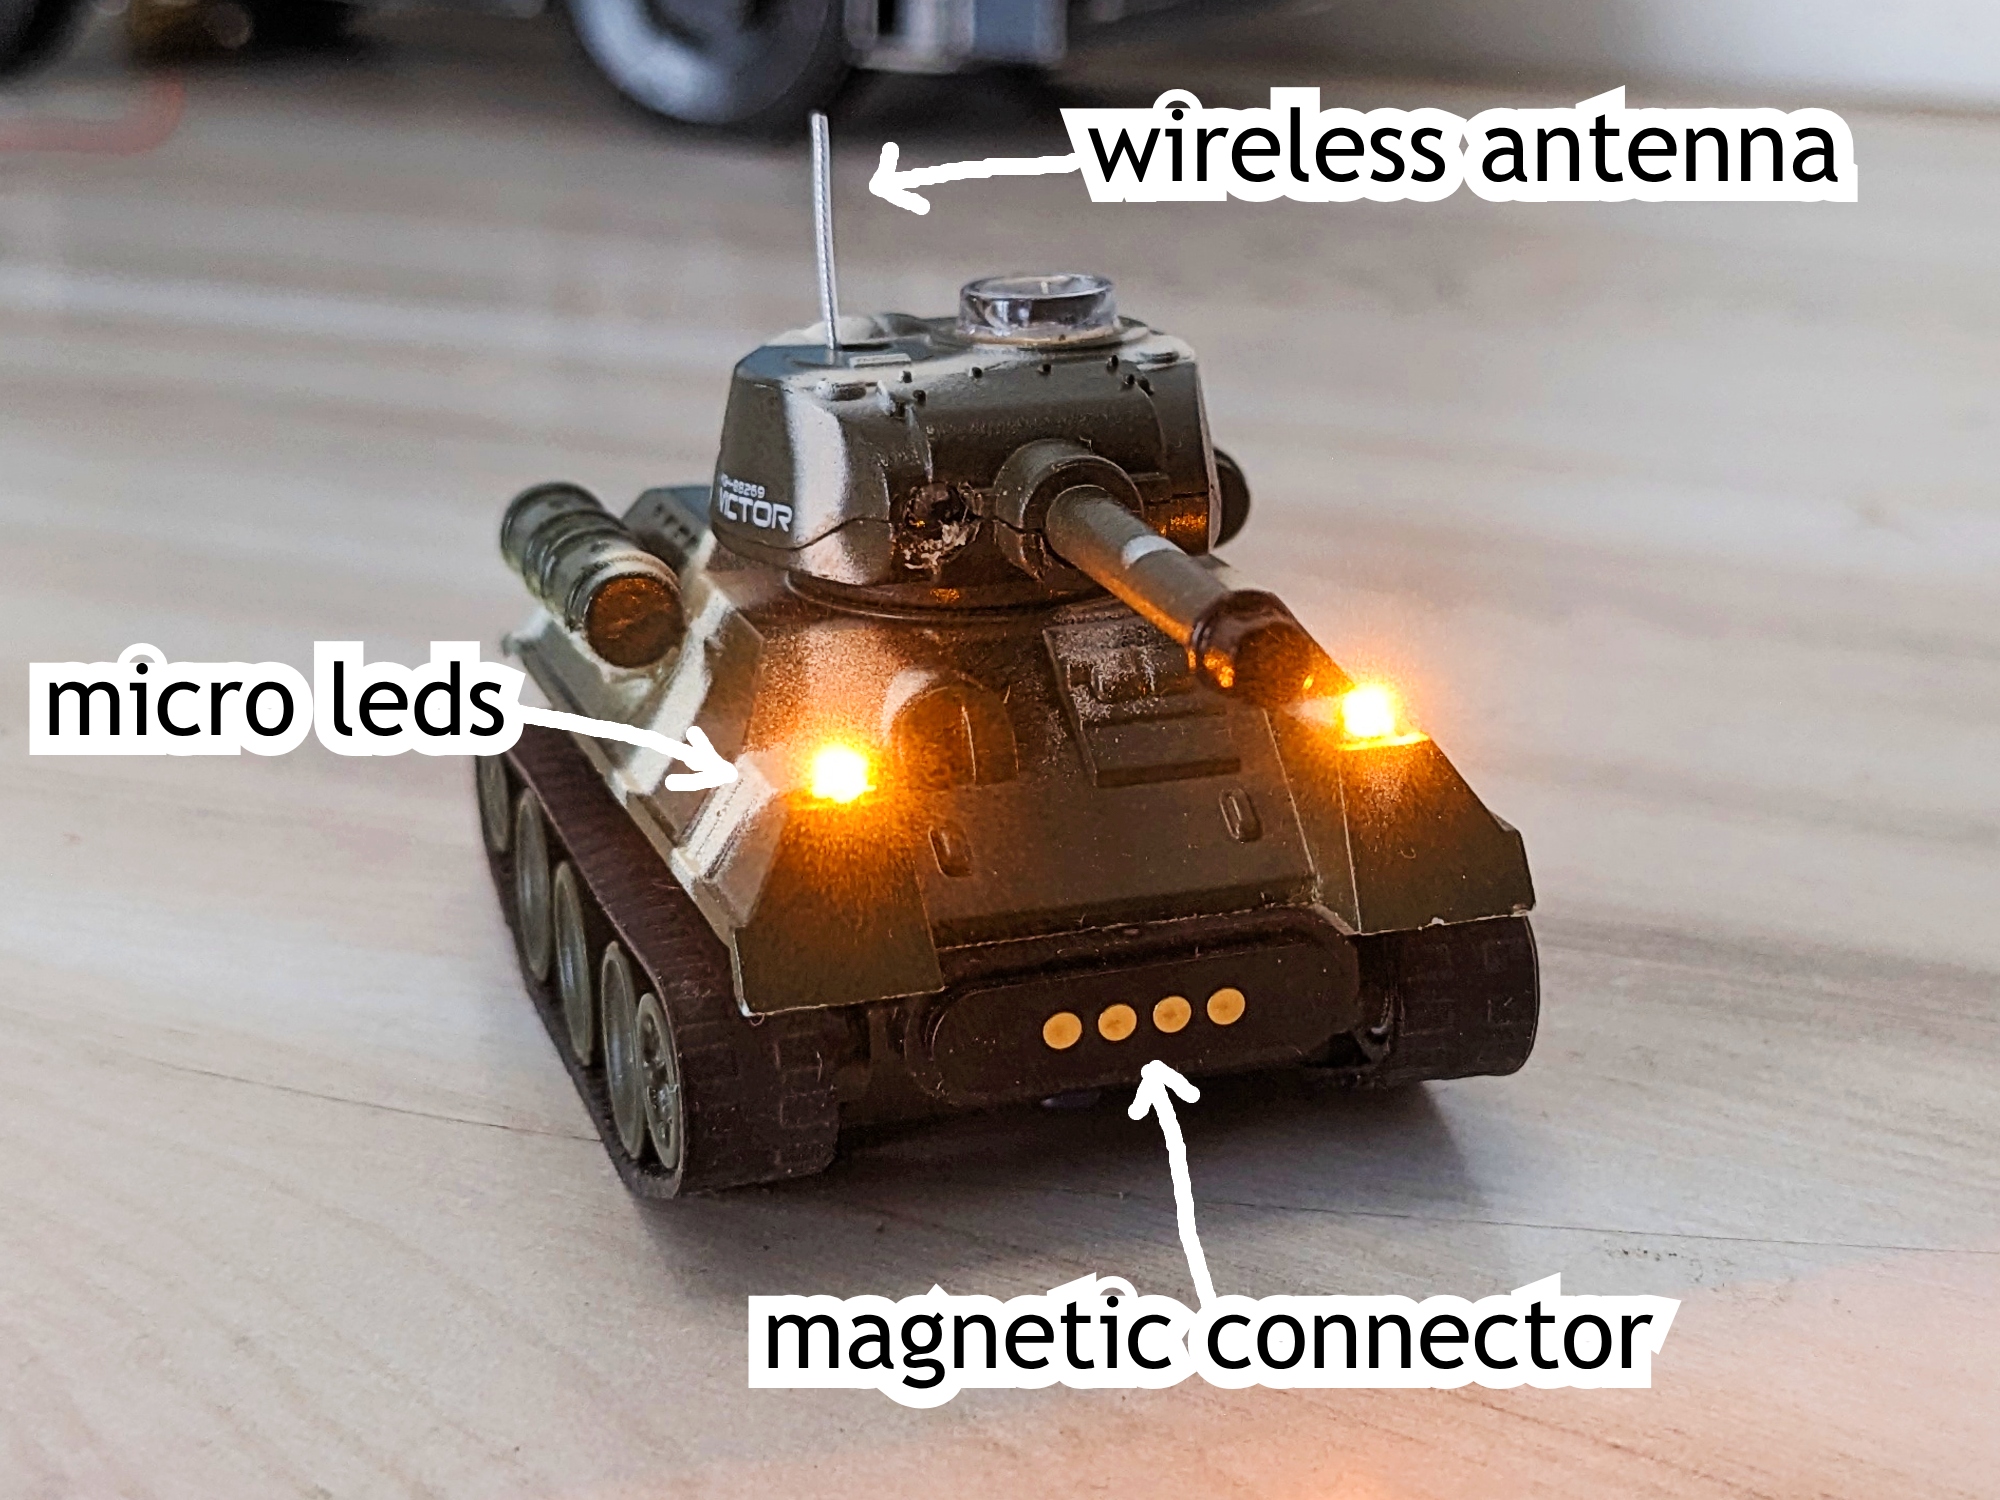
Finally we will cram everything and screw it together. It is more congested than the factory setup since we are using a bigger battery.
The magnetic connector is accessible on the front side of the tank. Also the antenna is routed inside the turret and points outside.
After some coding work, the tank is finally working as expected. So the project is a success. The features of this board were tested and we also have an upgraded tank.
This project is part of the Mikro series.