
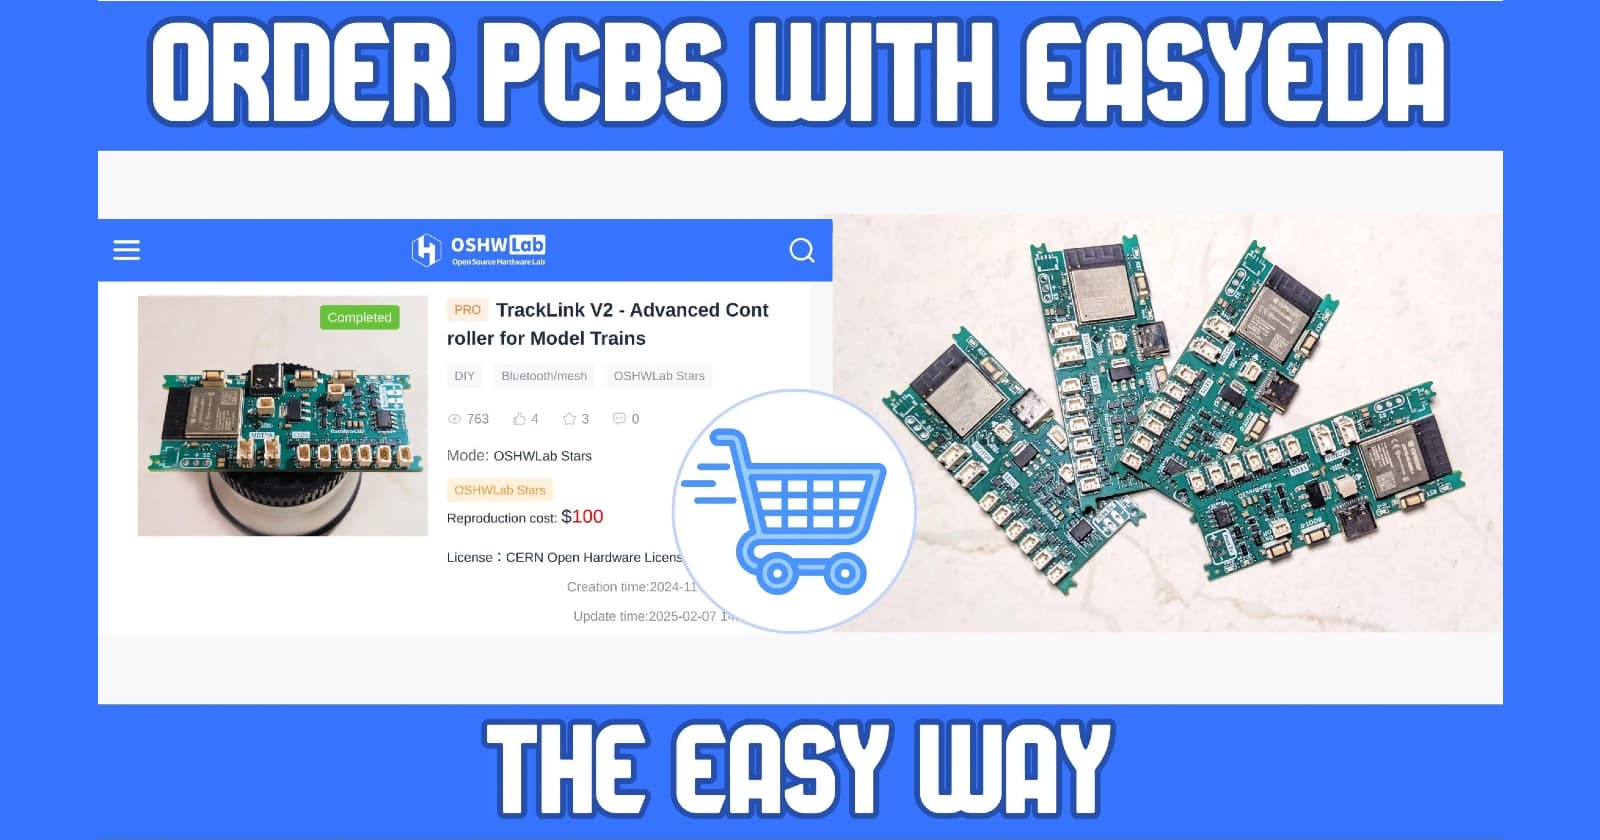
Ordering Boards for OSHWLab Projects
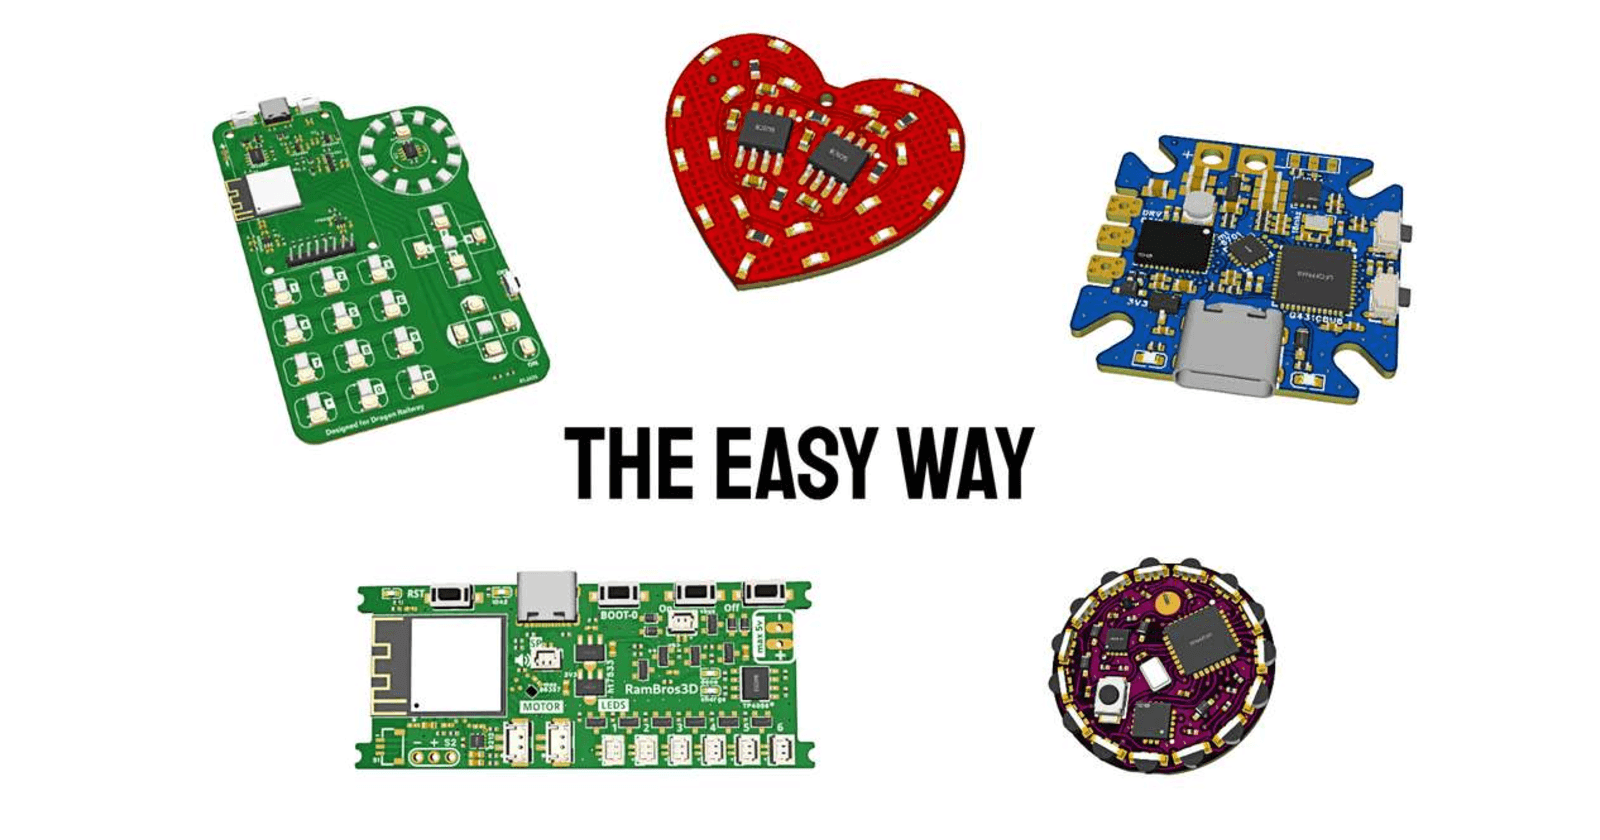
Are you new to this hobby, do you want to replicate a community project? Here's the easy way
This will guide you through all the steps to order a Board for a project shared on OSHWLab.
To get a PCB made, you'll usually need these files:
Gerber - this is the blueprint of the PCB
BOM (Bill of materials) - A shopping list of all the parts you need for your board
CPL (Component placement list) - aka "pick and place" file
The BOM and CPL are required if you want the manufacturer to assemble the board. If you just need the bare PCB, the Gerber files are enough.
All the projects on OSHWLab are designed using EasyEDA, so we'll look at a simpler approach today.
Step 1:
Open the project in Easyeda using the open "Drawing Button"

Step 2:
Open the project. Each design will have a schematic file and a PCB file.
If there are multiple PCB versions, choose the one recommended by the designer.

Step 3:
After the PCB is opened click the "Order PCB" button

In Standard version, it will be under Fabrication

Step 4:
Confirm the generated data

The Standard version will ask for manual confirmation to check for DRC. The project designer would have already made sure it does not have any errors.
But it doesnt hurt to double-check. If no errors pop up, you can proceed.

Step 5:
All the necessary files will be automatically uploaded to the JLCPCB website, and the quote page will open.
Here are the specifications to adjust:
Base material (usually FR4)
PCB thickness
PCB color - your choice, green is cheapest
Surface finish - Lead-free recommended for health
You can leave the other specs unchanged


Leave the high-end specs at their default values. You can choose to remove the order number if you prefer.
Step 6:
Enable PCBA is component assembly if required (Highly recommended).
You can save a lot of time using this option.

You can also choose to have only 2/5 boards assembled.
The PCBA advanced options can be left at their default settings.
Click "NEXT" and proceed, again.
Step 7:
Normally, you'd have to upload the BOM and CPL files at this step. However, since we're ordering directly from EasyEDA, these files are also uploaded automatically.
You might see some errors, but generally, you can ignore them if the components are labeled DNP (Do Not Populate) or IGNORE, or as directed by project designer. This just means the component isn't included in the BOM and won't be placed during assembly.

Step 8:
This will show an overview of the components in the BOM.

If all components are selected, you can proceed.

Here's the tricky part: if a component is out of stock or there's an inventory shortage, you'll have to choose a suitable substitute. This is usually easy for passive components like diodes, resistors, capacitors, and LEDs. However, if an IC is not available, you'll need to find an alternative that's pin-compatible.
Step 9:
Next, you'll get an overview of the component placements. I haven't had any issues with EasyEDA and JLCPCB so far, so it should be good.

But if anything looks out of place, double-check the design and adjust the placement as needed.
Step 10:
Here you'll see a full price breakdown for your boards.
For bureaucracy reasons, you'll need to select a product class. Choose "DIY" unless you're absolutely sure it's something else.

Finally "Add to cart"
And that's how you order the Assembled boards to replicate a board shared in OSHWLab.
Notes:
I have made a proposal for a real One-click option. Share your interest in the forum - VIEW HERE
The projects on OSHWLab are shared by community members like you and me. so the risk is yours to take.
The One-click order option is only applicable if you're using JLCPCB for fabrication.
I recommend this approach for hobbyists with some electronics experience. It's definitely not for absolute beginners.